Steps for Safe Popcorn Ceiling Removal
Are you staring up at that textured popcorn ceiling and longing for a fresh, modern look? You’re not alone. Removing popcorn ceilings is a popular home improvement project that can dramatically transform your space. However, it's essential to approach this task with care, especially if you're tackling it yourself. Here, we’ll walk you through the detailed steps for safe popcorn ceiling removal, ensuring a smooth and efficient process.
Understanding Popcorn Ceilings and Why Remove Them
Popcorn ceilings, also known as acoustic ceilings, were a popular choice in homes built before the 1990s due to their sound-dampening qualities and ability to hide imperfections. However, what once was stylish is now considered outdated. Removing them can significantly enhance your home's aesthetic, making it look more modern and spacious. Moreover, if you’re considering selling your home, a smooth ceiling can increase its market appeal.
Safety First: Testing for Asbestos
Before embarking on the removal process, safety must be your top priority. Many popcorn ceilings in homes built before the mid-1980s contain asbestos, a dangerous carcinogen. Testing for asbestos is a crucial first step. You can purchase a testing kit or hire a professional to conduct the test. If asbestos is present, it’s vital to hire a licensed asbestos removal professional to handle the removal safely.
Preparation: Setting Up the Workspace
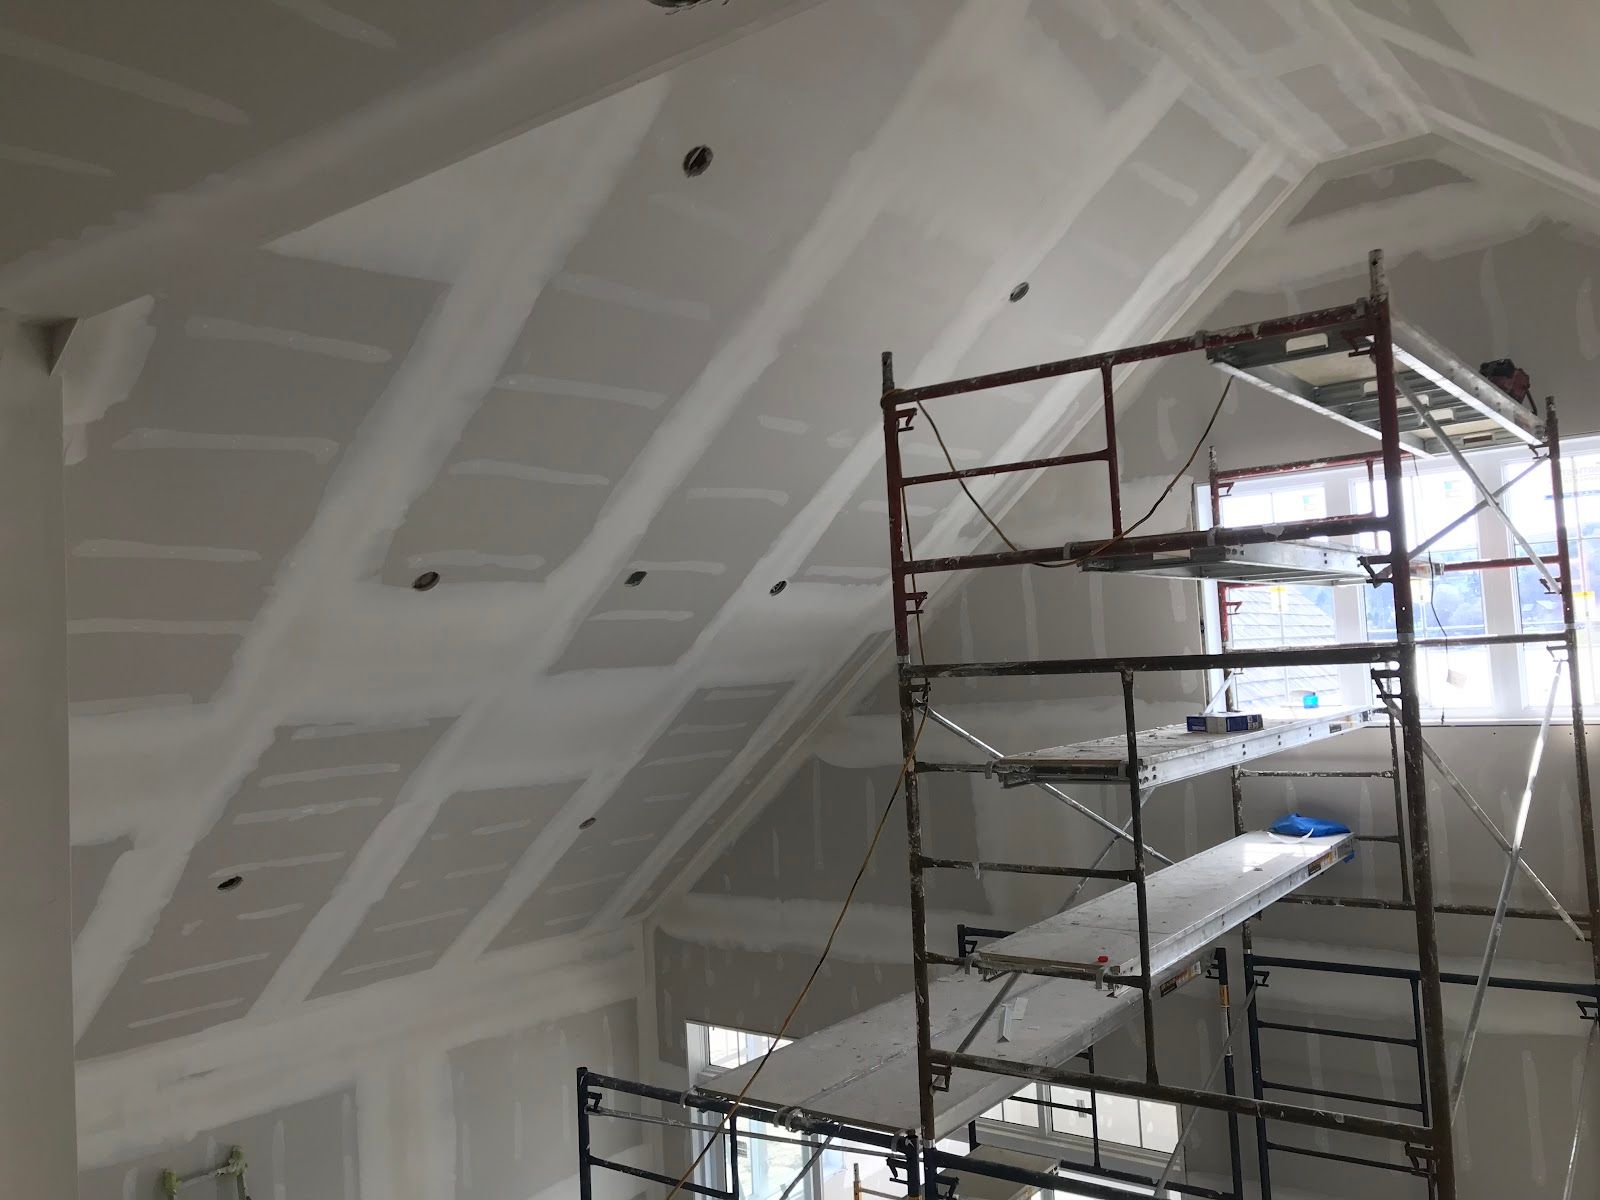
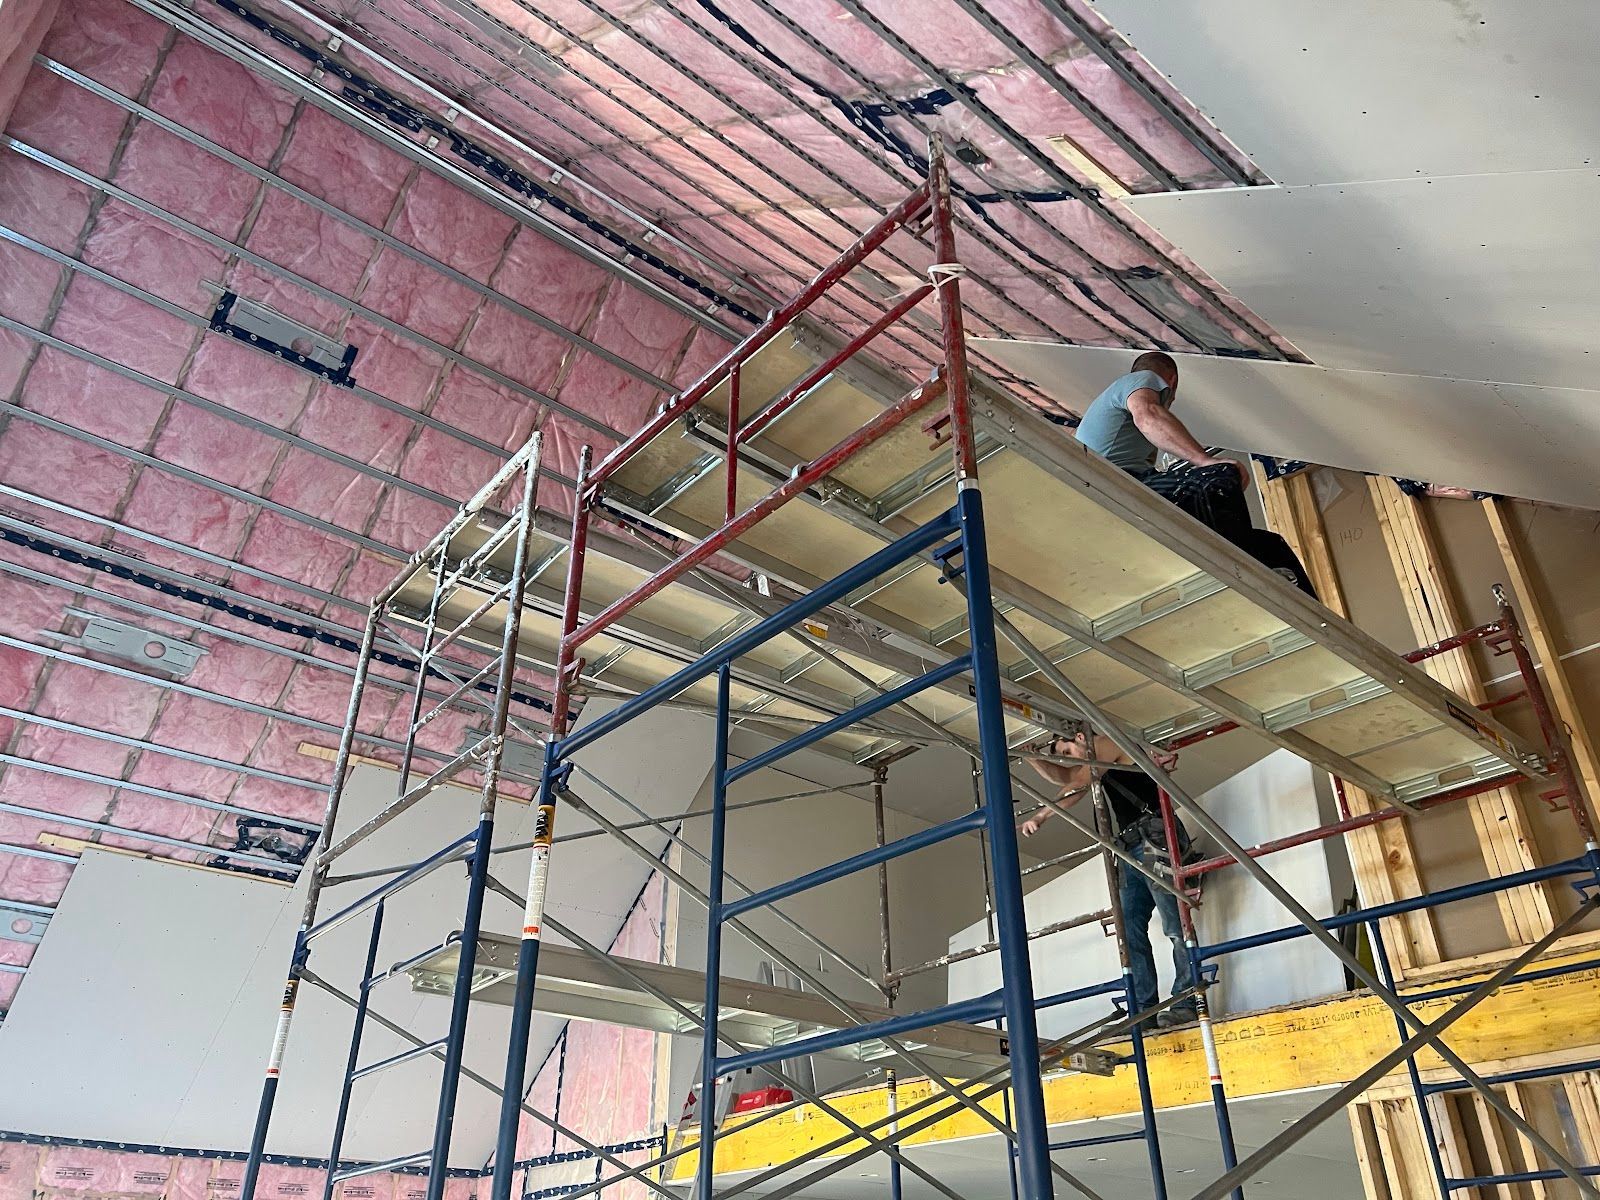
Once you’re sure your ceiling is asbestos-free, it’s time to prepare your workspace. Remove all furniture and cover floors with plastic sheeting to catch falling debris. Use painter’s tape to secure plastic covers on walls and tape off any light fixtures or vents. Don’t forget to wear protective gear, including safety goggles, a dust mask, and gloves, to protect yourself from dust and debris.
Step-by-Step Removal Process
Step 1: Soften the Ceiling Texture
Begin by filling a garden sprayer with warm water. Lightly mist a small section of the ceiling with water, allowing it to soak for 15-20 minutes. This helps soften the texture, making it easier to scrape off. Be cautious not to saturate your ceiling as excess moisture can damage the drywall underneath.
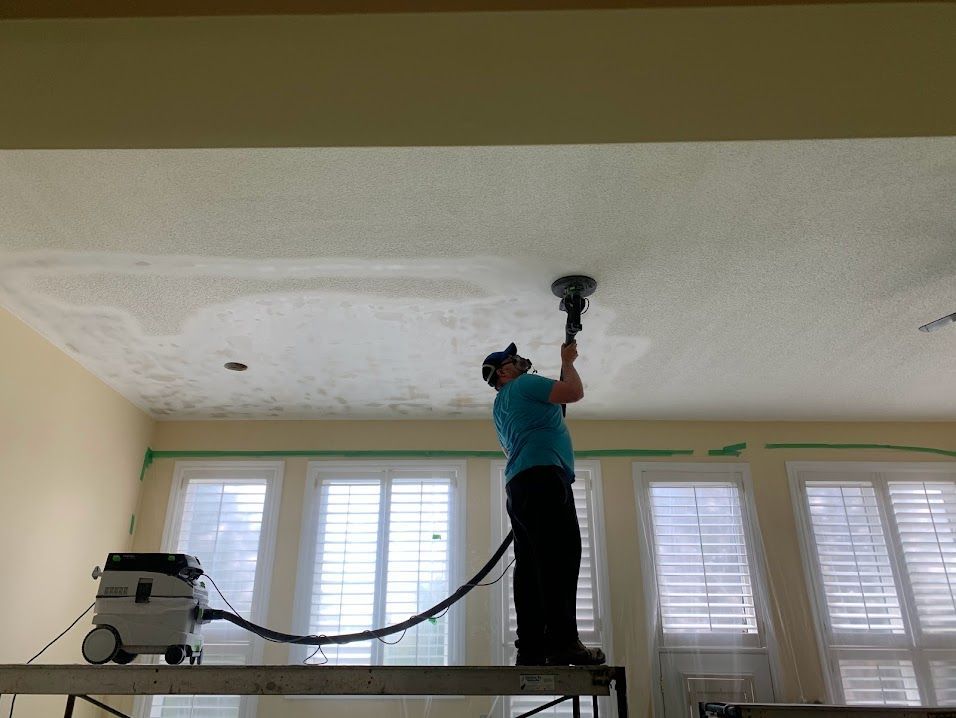
Step 2: Scraping the Ceiling
Once the texture is softened, use a wide putty knife or a ceiling texture scraper to gently scrape the popcorn texture off. Work in small sections, being careful not to gouge the drywall beneath. If necessary, mist the area again to further soften stubborn spots.
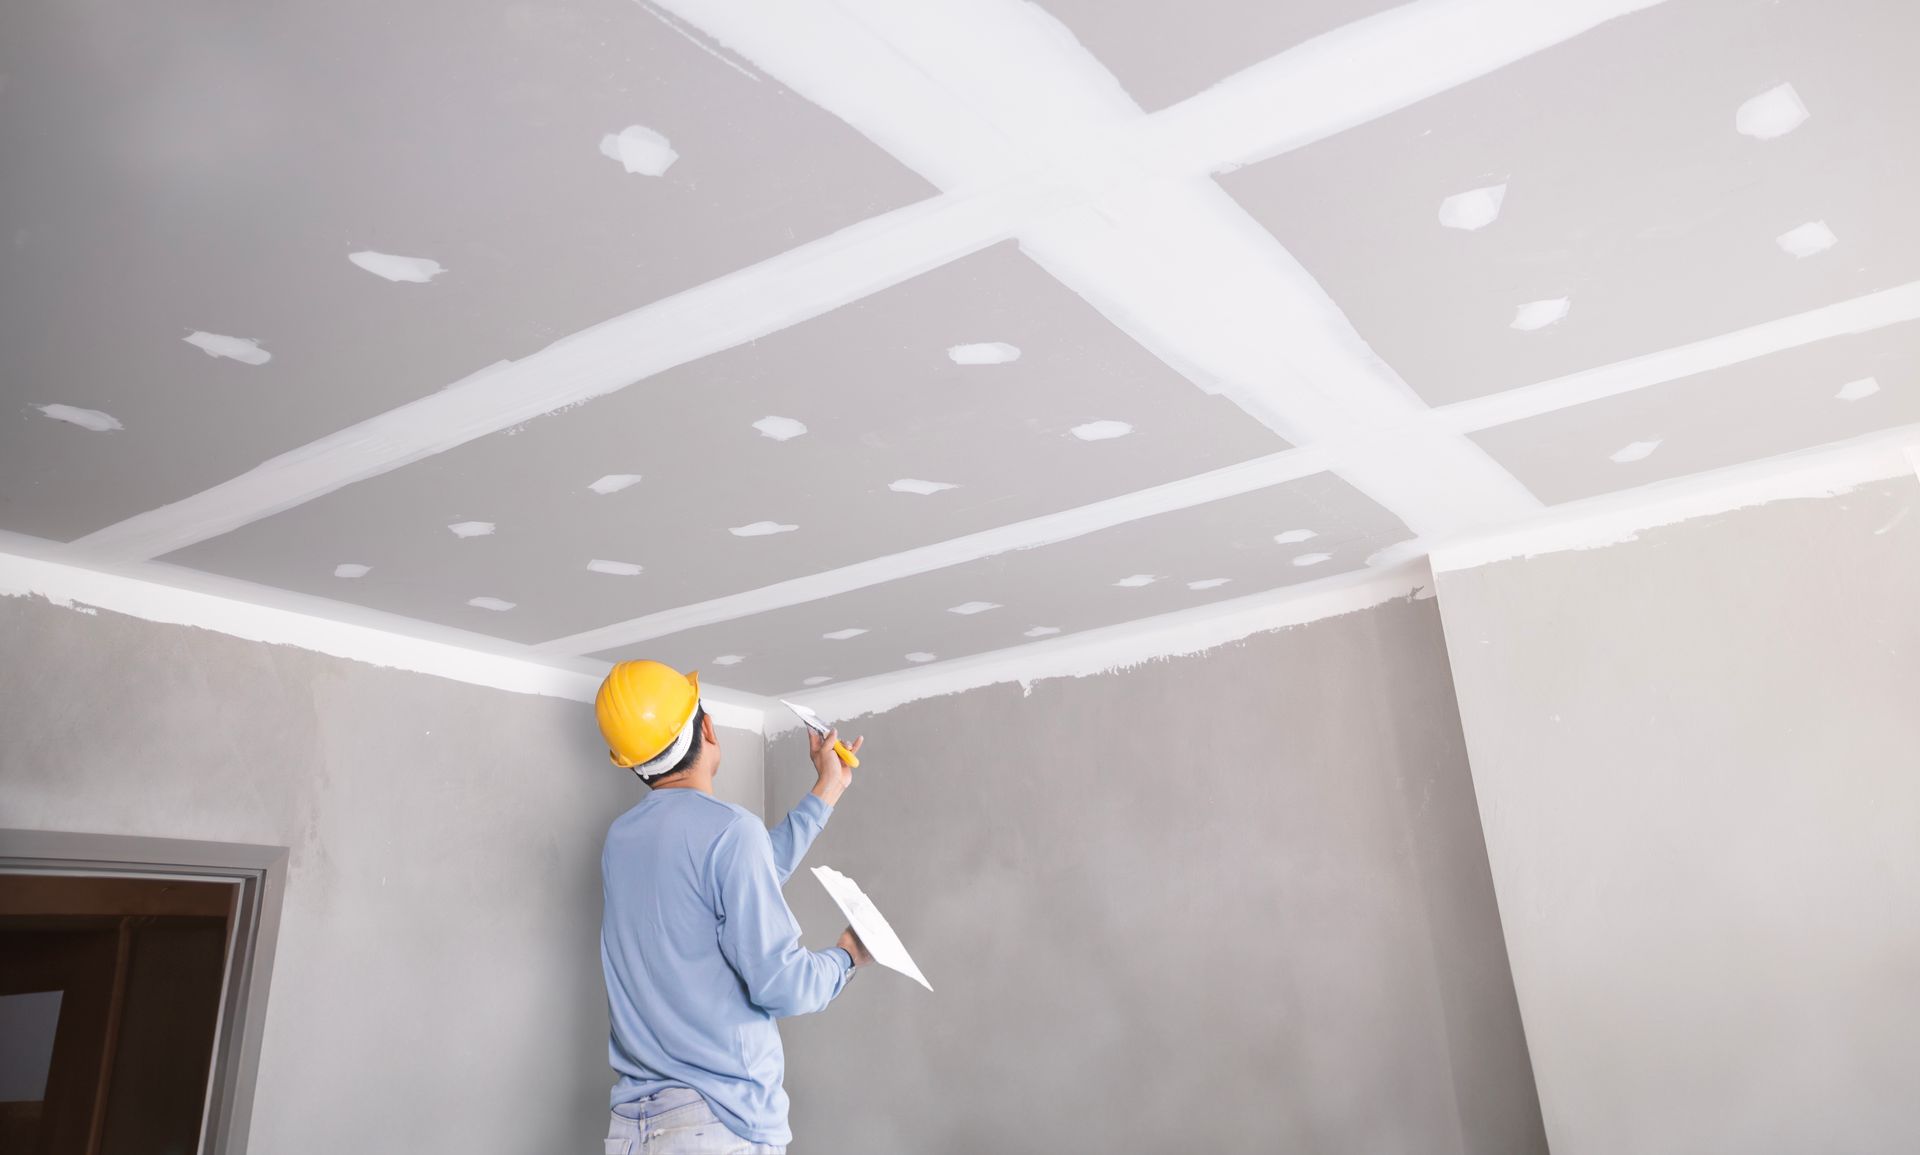
Step 3: Dealing with Repairs*
After you’ve removed all the texture, inspect the ceiling for any damage that may have occurred during scraping. Sand down any rough patches and fill any gouges or holes with joint compound. Once the compound is dry, sand again for a smooth finish.
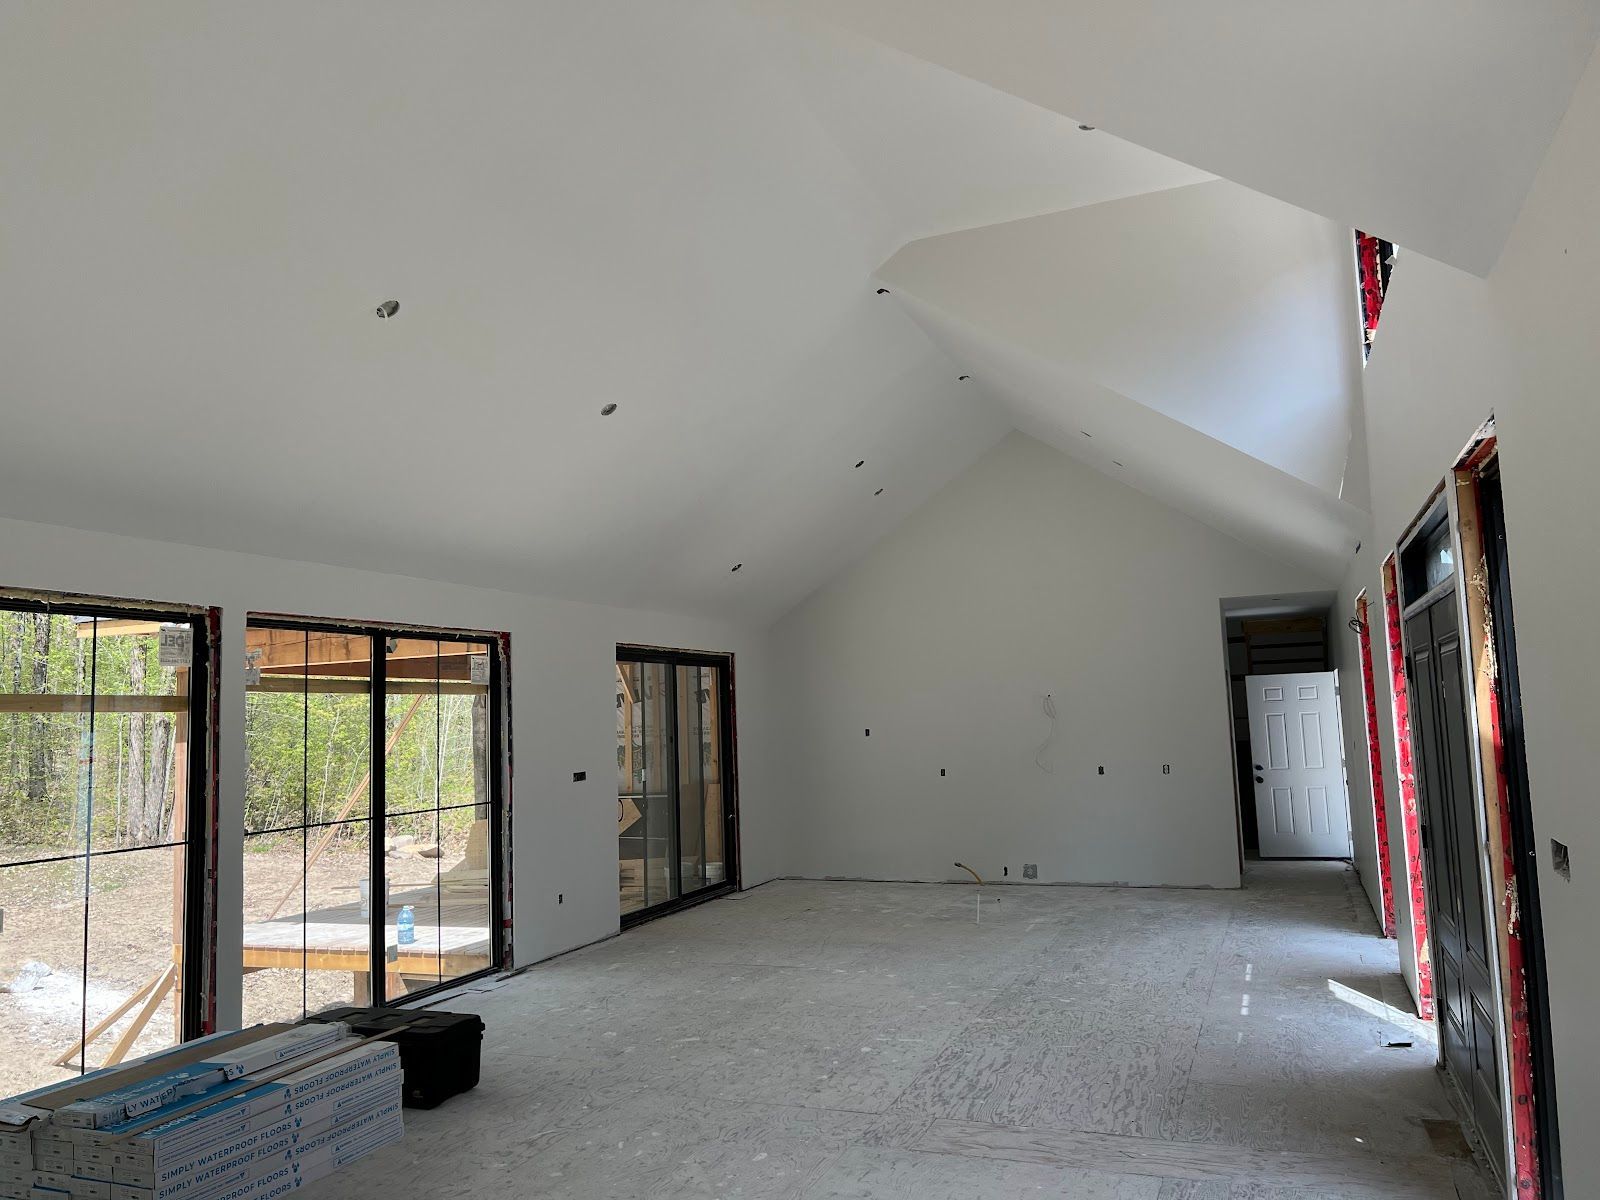
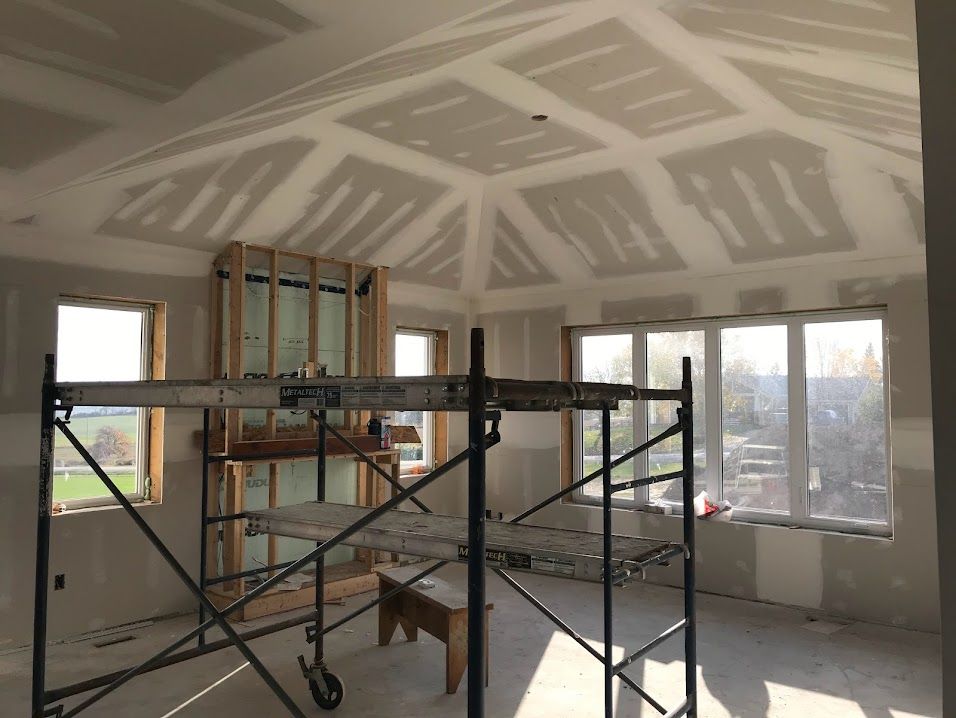
Considerations for a Perfect Finish
After the removal process, it’s important to consider what finish you want for your now-smooth ceiling. A skim coat of joint compound will provide an even surface before painting. If you’re aiming for a high-end look, consider opting for a Level 5 Finish, which involves an additional skim coat for a perfectly smooth and uniform appearance.
Cleanup: Ensuring a Spotless Space
Once your ceiling looks flawless, it’s time for cleanup. Carefully roll up the plastic sheeting to contain the debris and dispose of it properly. Vacuum and dust the entire room to remove any lingering particles. This final step ensures that your space is not only beautifully updated but also clean and ready for use.
Enhance Your Home's Aesthetic Today!
Transforming your home with a fresh ceiling can significantly enhance its aesthetic and market value. At Drywallers.ca, we specialize in safe and efficient popcorn ceiling removal, ensuring a seamless process from start to finish. Our experts handle everything, from initial testing to the final cleanup, allowing you to enjoy your home’s new look without any hassle.
Ready to Modernize Your Ceilings? Contact Us Today!
Don’t let outdated ceilings hold back the beauty of your home. Whether you're planning a full renovation or just want to update a single room, removing popcorn ceilings is a great step forward. Contact Drywallers.ca today to schedule a consultation with our experienced team. Let us help you achieve the modern, stylish home you’ve been dreaming of. Call or visit our website to get started. Your beautifully transformed space awaits!
Share This Blog