Drywall Installation Timeline: How Long Until You Can Paint or Tile?
If you’re planning a renovation or new build in the GTA, Barrie, or Muskoka, timing is everything. March is a popular month to kick off interior projects before spring listings, Easter hosting, and summer construction schedules ramp up. One of the most common questions we hear at Drywallers.ca is: “How long after drywall is installed can we paint or tile?”
The honest answer is: it depends on the scope of your job, the level of finish you need, and (especially in Southern Ontario) humidity and temperature inside the home. Below is a clear drywall installation timeline so you can plan trades, deliveries, and move-in dates with fewer surprises.
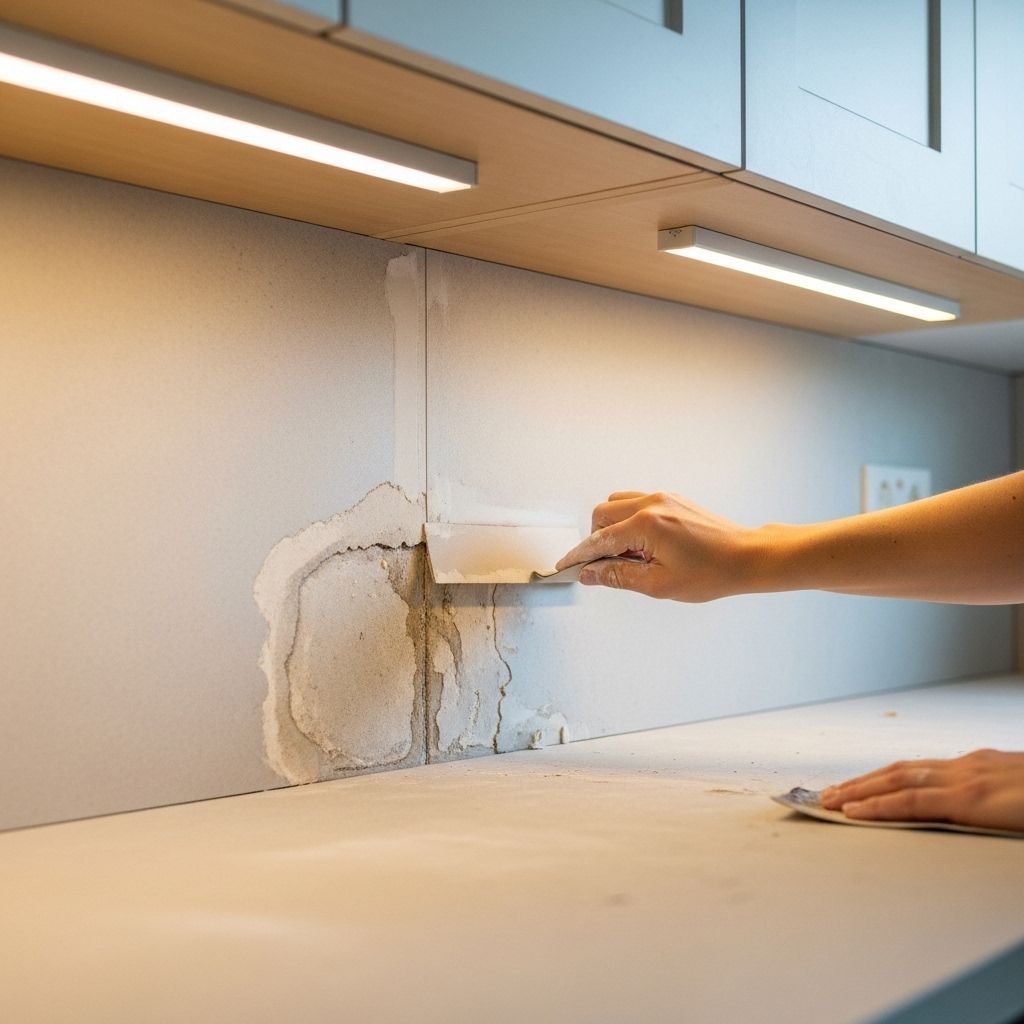
What Happens After Drywall Installation?
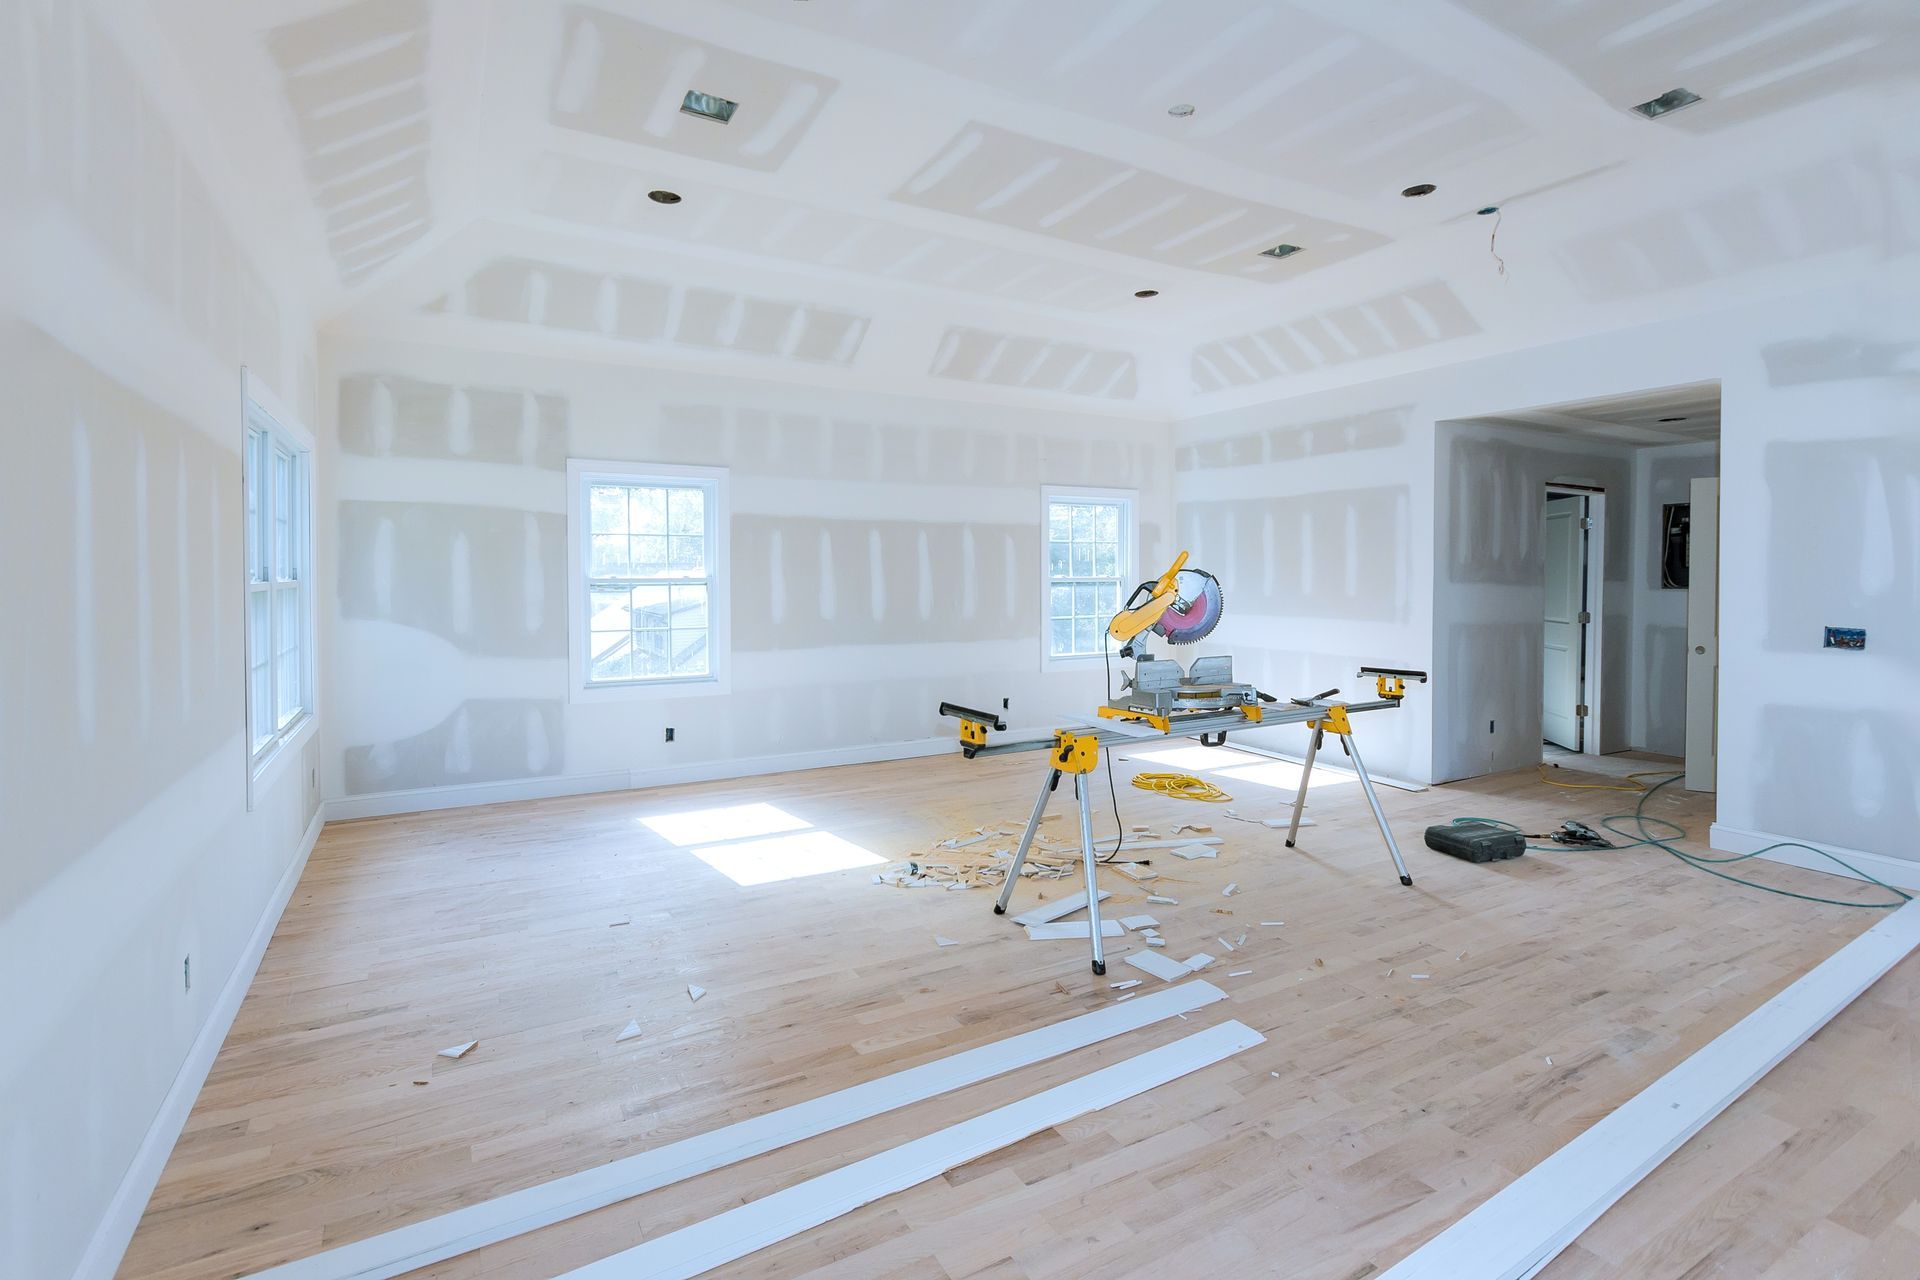
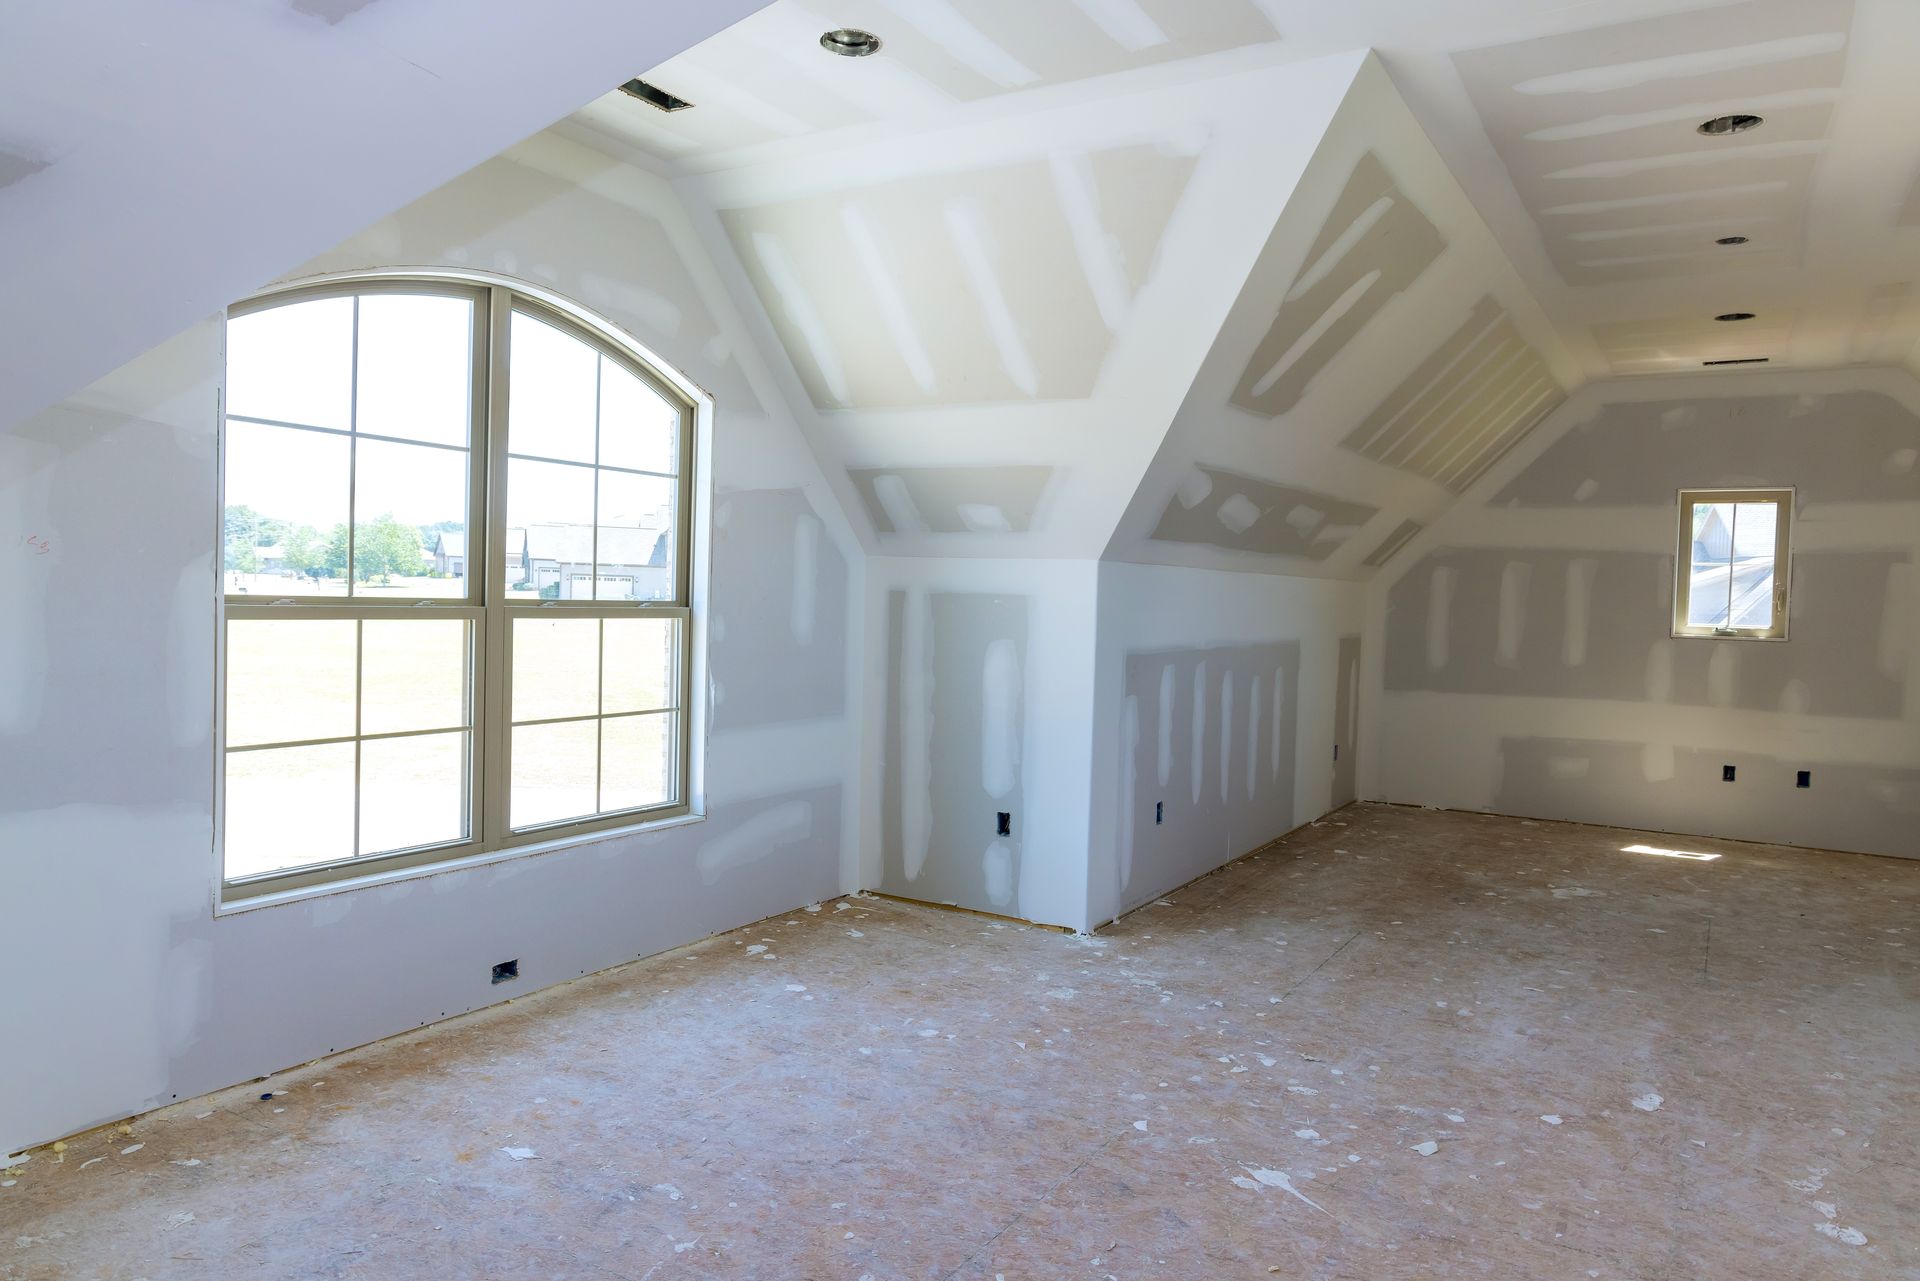
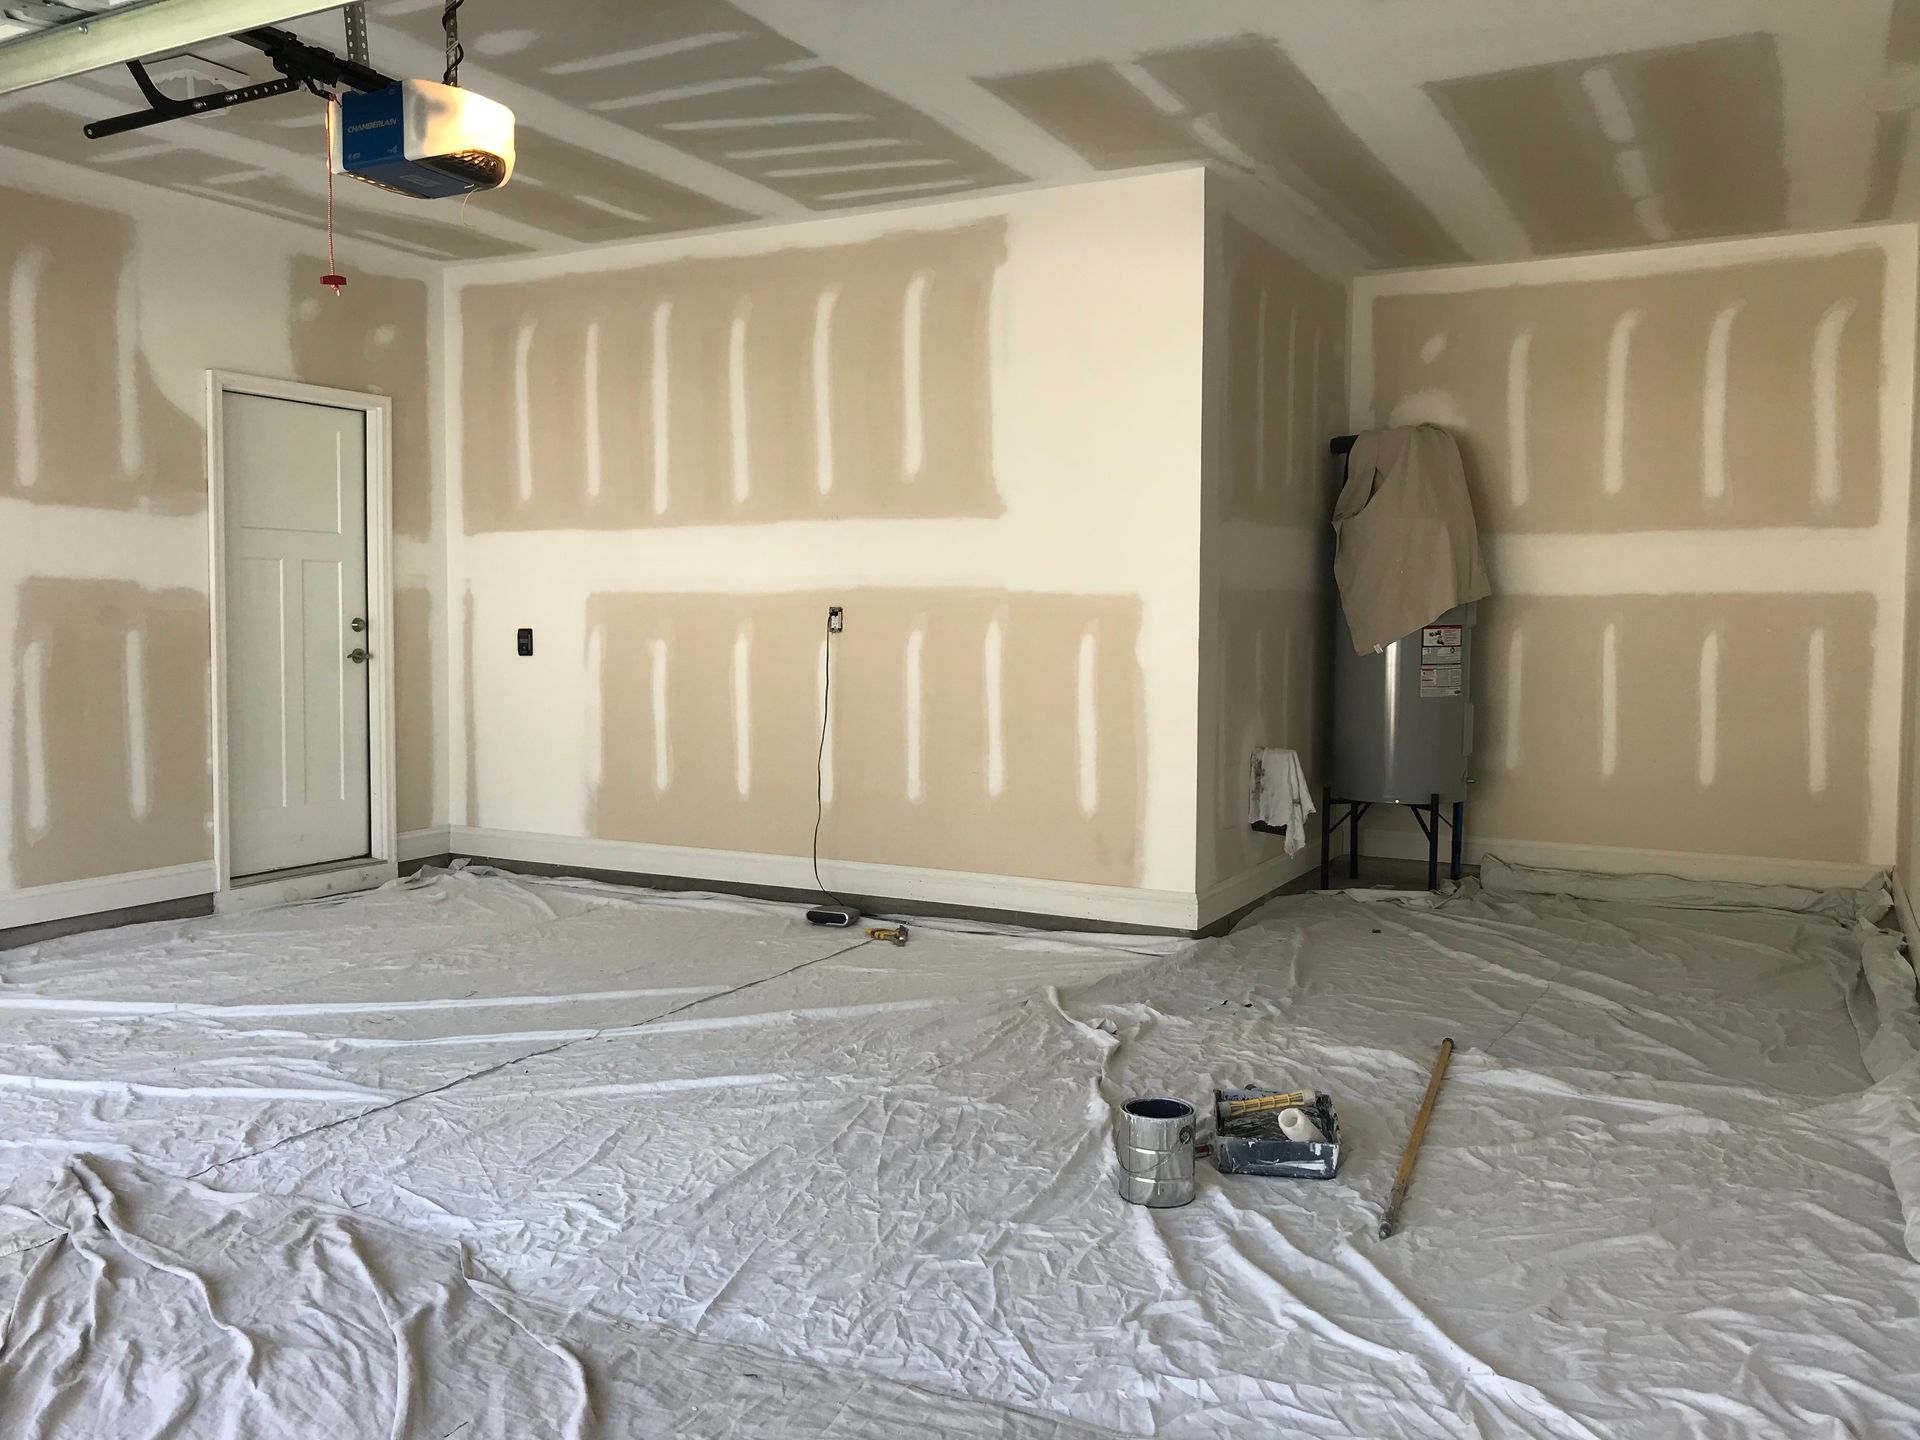
Drywall installation is just the beginning. After boards are hung, the finishing stages determine when your walls are truly ready for paint, tile, trim, or cabinetry. A standard project usually includes:
- Drywall installation (hanging sheets on walls and ceilings)
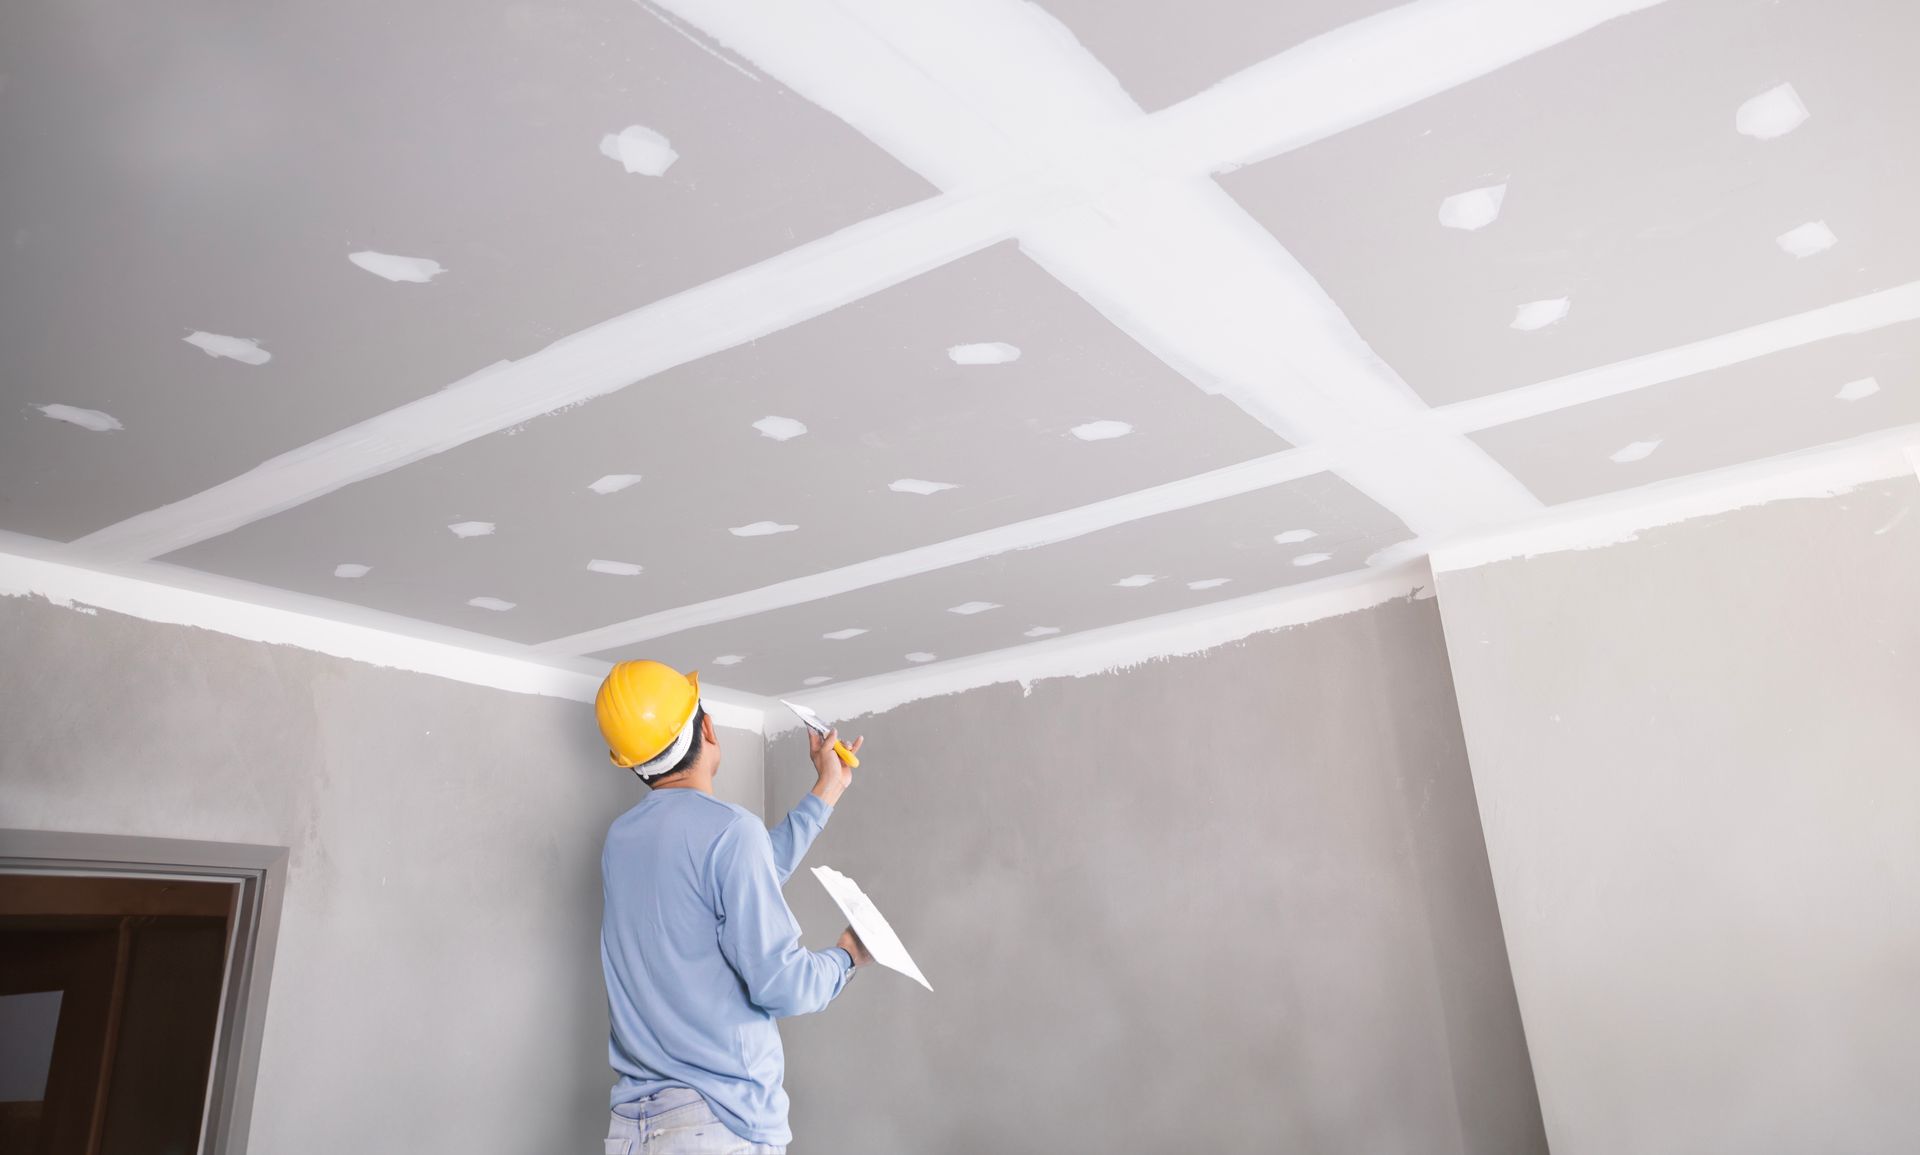
- Taping and mudding (embedding tape, applying joint compound)
- Additional coats (building up smoothness and strength)
- Sanding and inspection (prepping for primer/paint or tile)
- Optional Level 5 finish (highest-end smooth finish for bright light or modern designs)
For homeowners and builders across Vaughan, Etobicoke, Guelph, and Simcoe County, the finishing phase often takes longer than hanging the board—and it’s where quality really shows.
Typical Drywall Installation Timeline (Residential + Custom Homes)
For many residential drywall projects, a realistic timeline looks like this:
Day 1–3: Drywall Hanging
Most rooms can be boarded quickly, but basements, bulkheads, and custom home drywall details can add time.
Day 3–7: Taping, Mudding, And Drying Cycles
Joint compound needs drying time between coats. In March, when homes are still running heat and indoor air can swing from dry to damp, drying time can vary.
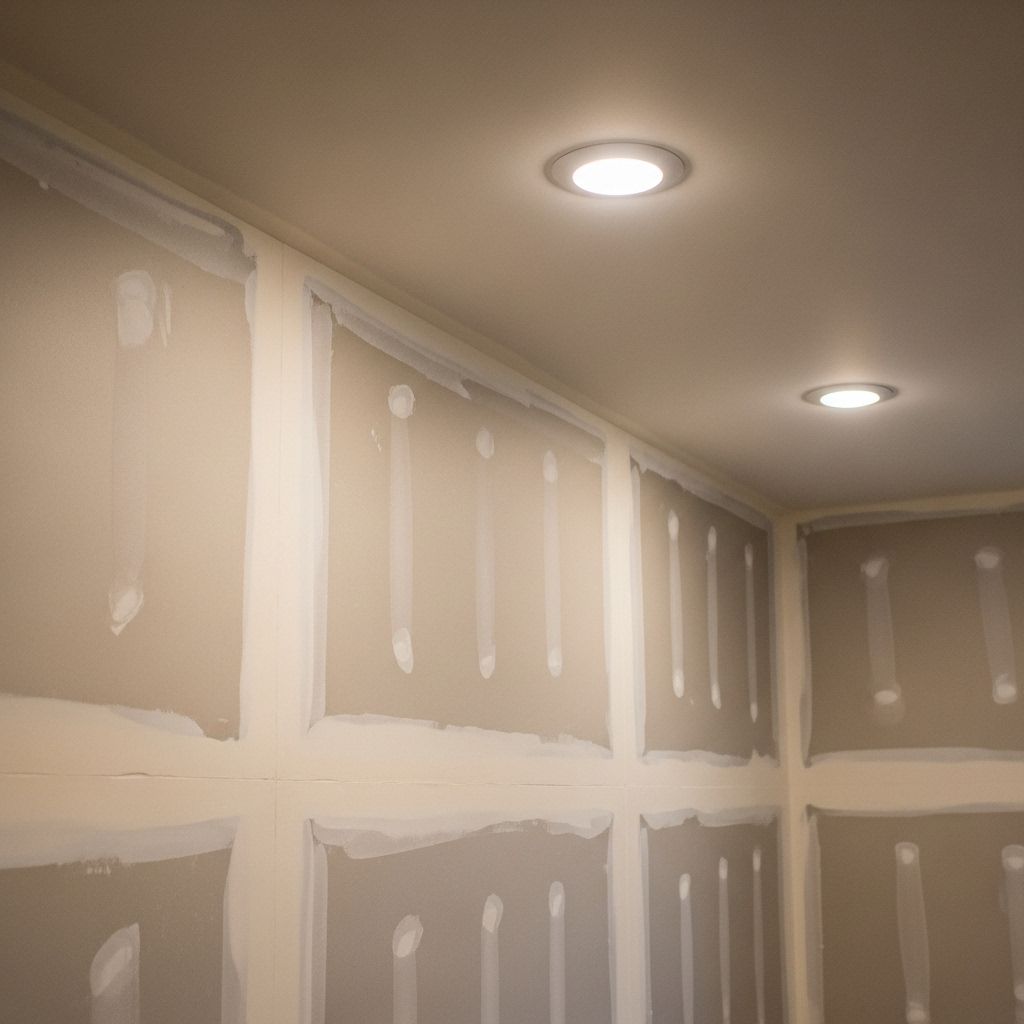
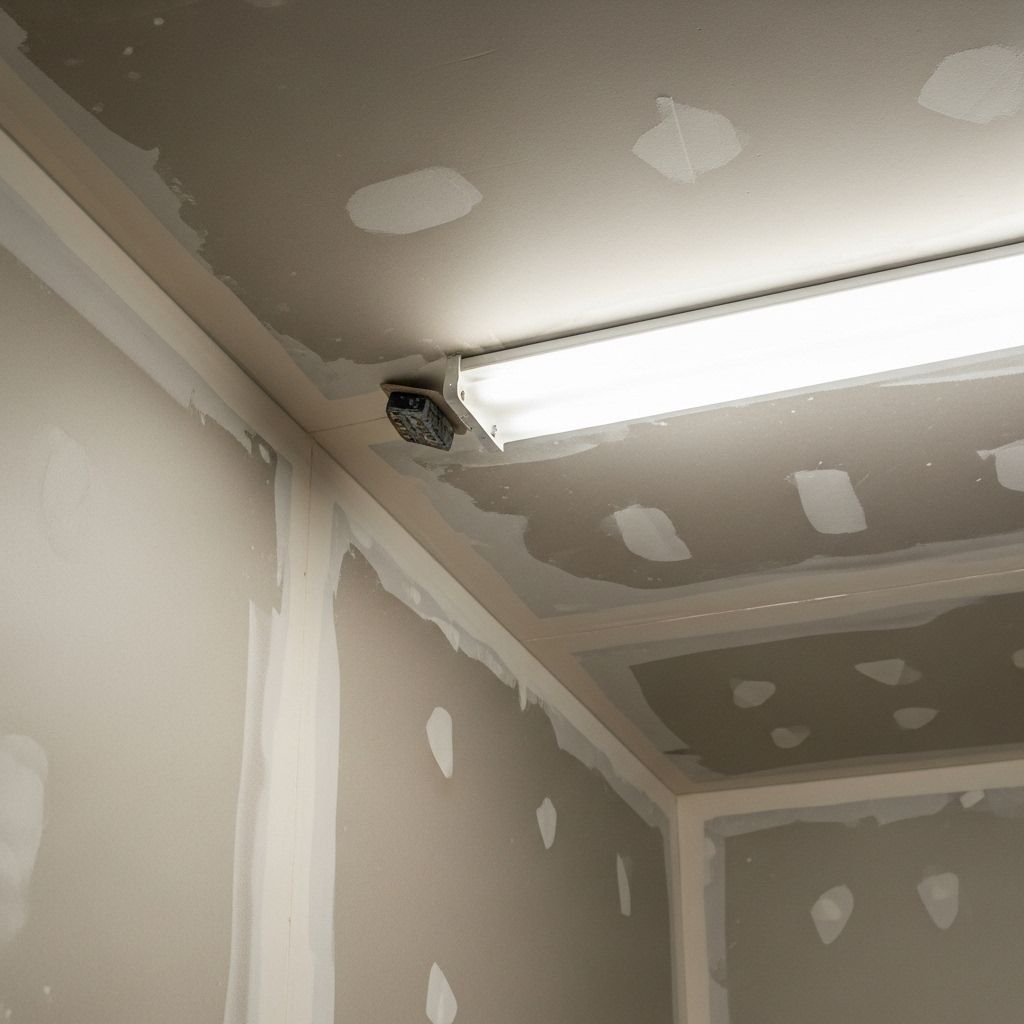
Day 7–10: Sanding, Touch-Ups, And Final Prep
This stage is key for a clean finish, especially with ceiling topping or large open-concept spaces that show light angles.
If you’re adding framing installation, basement finishing, or finished carpentry, the schedule should be coordinated so each trade hits the right “ready” stage without rushing the drywall.
How Long Until You Can Paint After Drywall?
Most drywall mud needs 24 hours per coat to dry under ideal conditions. In real Southern Ontario homes in March, it can take longer if ventilation is limited or humidity is higher (common in basements).
A practical rule: plan 3–7 days after drywall installation before painting begins, depending on:
- Number of mud coats required
- Indoor temperature (ideally steady, not fluctuating)
- Air movement (fans help; sealed rooms slow drying)
- Whether you’re aiming for a standard finish or a Level 5 finish
Once sanding and touch-ups are complete, you can prime. Don’t skip primer—fresh drywall and compound absorb paint differently and can cause flashing or uneven sheen.
When Can You Tile Over Drywall?
If you’re tiling a backsplash or a dry-area wall, the drywall surface must be fully cured, dust-free, and properly primed (or prepared to the tile manufacturer’s specs). For bathrooms, shower surrounds, and wet zones, drywall is often not the right substrate—cement board or approved waterproof systems are typically required.
For tiling timelines, most projects can tile 1–2 days after drywall finishing is complete, as long as:
- The surface is dry and stable
- Dust has been cleaned after sanding
- The correct primer or membrane prep is done
In busy spring renovation periods around Kitchener, Waterloo, Cambridge, and Newmarket, lining up your tiler too early is a common scheduling mistake. It’s better to book them with a window and confirm once the drywall is ready.
March Timing Tips For Southern Ontario Projects
March conditions can affect timelines more than people expect, particularly for basement renovation work. Here are a few locally relevant tips to keep your drywall services on schedule:
- Keep heat consistent to avoid slow drying and cracking
- Use ventilation to move air through enclosed rooms
- Watch basement humidity; a dehumidifier can be a game-changer
- Plan around March Break if you need quieter workdays at home
- Aim to finish drywall before Easter hosting so paint and flooring can follow smoothly
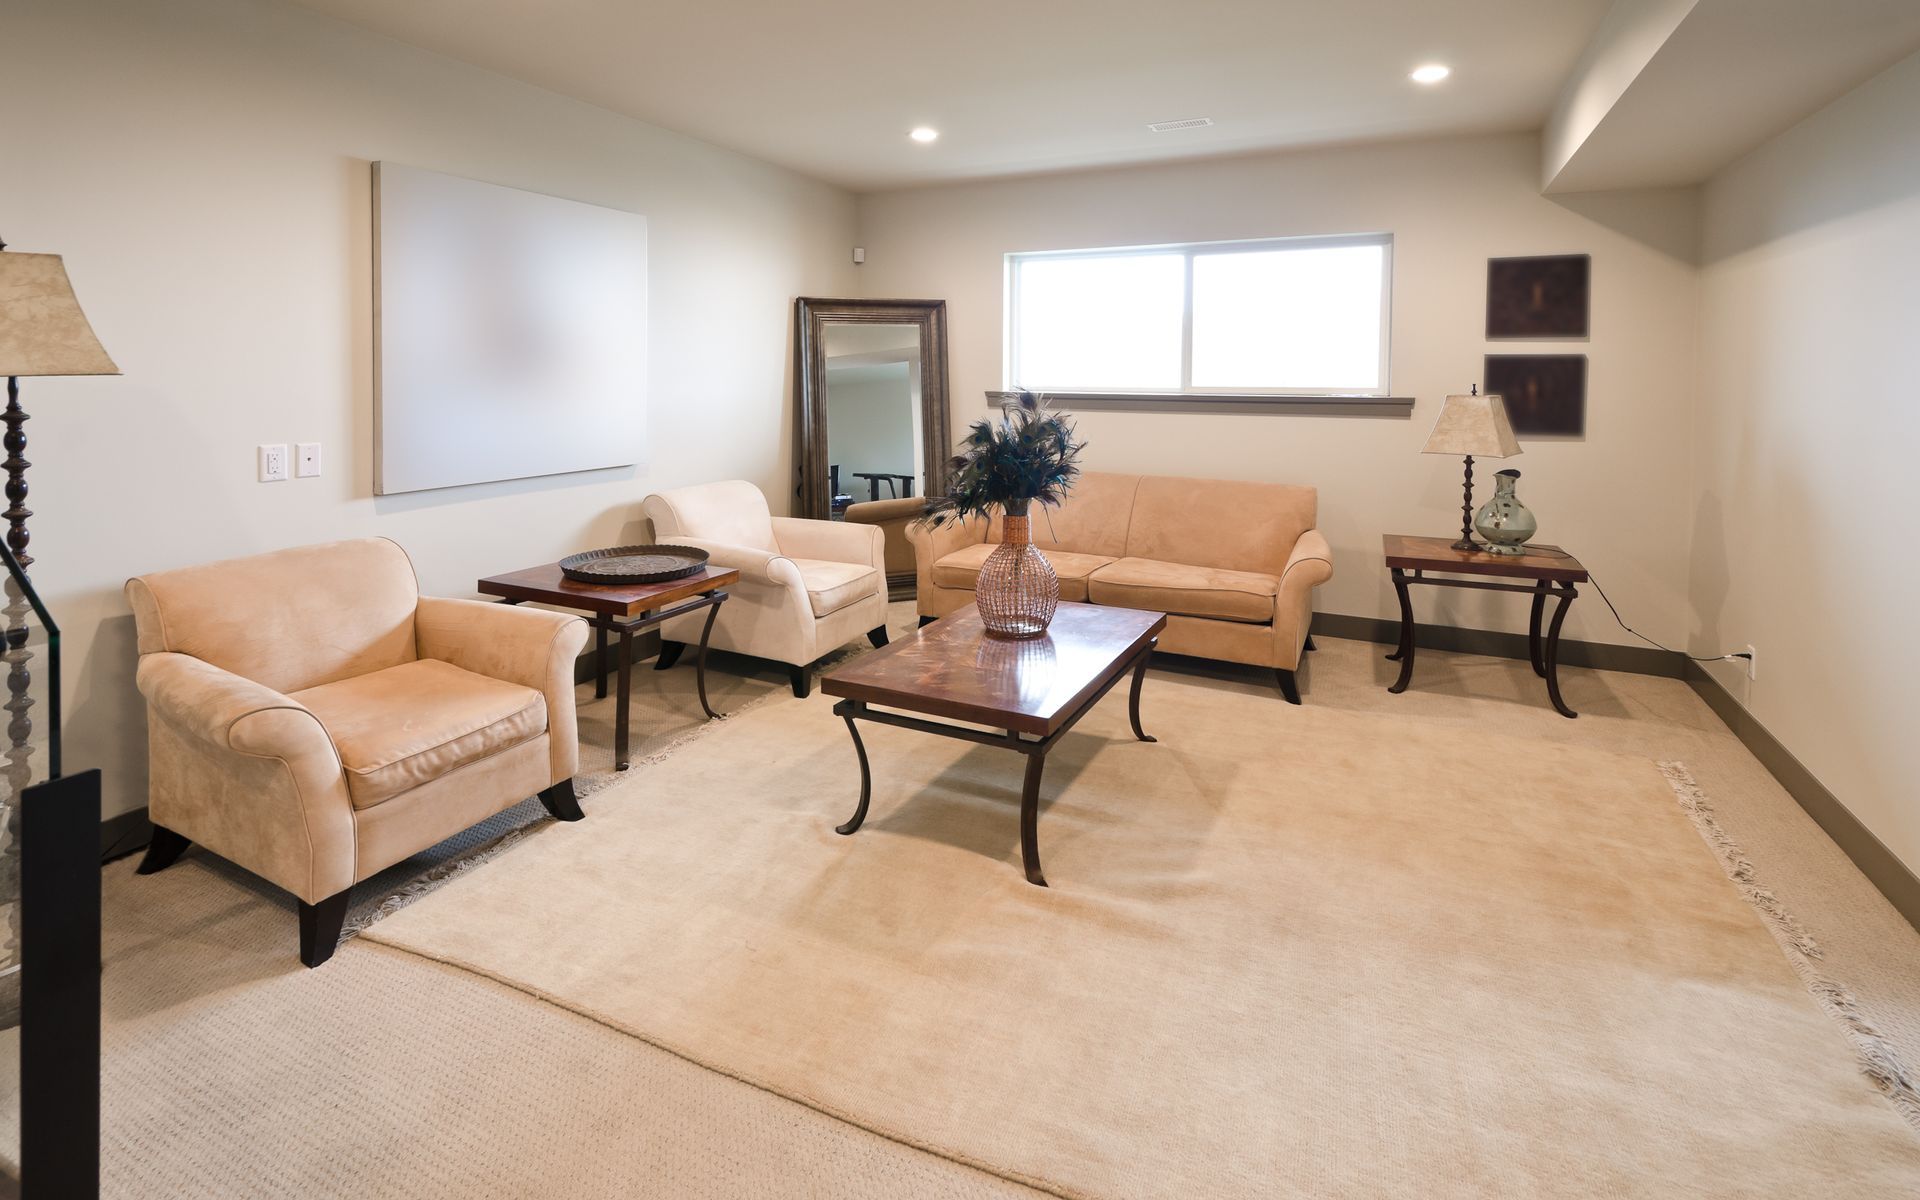
Why Finish Level Matters (Especially In Bright Modern Homes)
If your home has large windows, pot lights, or modern flat-painted walls, drywall finishing quality is critical. A Level 5 finish reduces imperfections that show up under raking light—something we frequently recommend for custom builds and higher-end renovations across the GTA and Muskoka.
At Drywallers.ca, our team focuses on precision from installation through finishing so you’re not fighting visible seams after paint goes on.
Book Your Drywall Installation In Barrie, The GTA, Or Southern Ontario
If you’re planning drywall installation, drywall repair, basement finishing, or commercial drywall, we’ll help you build a realistic timeline and coordinate the next steps so your painter, tiler, and carpenter can move in confidently.
Ready to get started? Contact Drywallers.ca to schedule a consultation and get a clear project timeline for your home or build in Barrie, Vaughan, Etobicoke, Guelph, Kitchener-Waterloo, Newmarket, Orillia, Simcoe County, or anywhere across Southern Ontario.
Share This Blog