Finished Carpentry + Drywall: The Secret to Seamless Trim and Door Casings
April is when homeowners across the GTA, Barrie, Guelph, and Simcoe County start lining up spring renos: basement upgrades after a long winter, fresh paint plans, and “let’s finally replace those door casings” projects before Easter gatherings and summer hosting. Here’s the part many people don’t realize: the clean, high-end look you want doesn’t come from trim alone. It comes from how finished carpentry and drywall finishing work together.
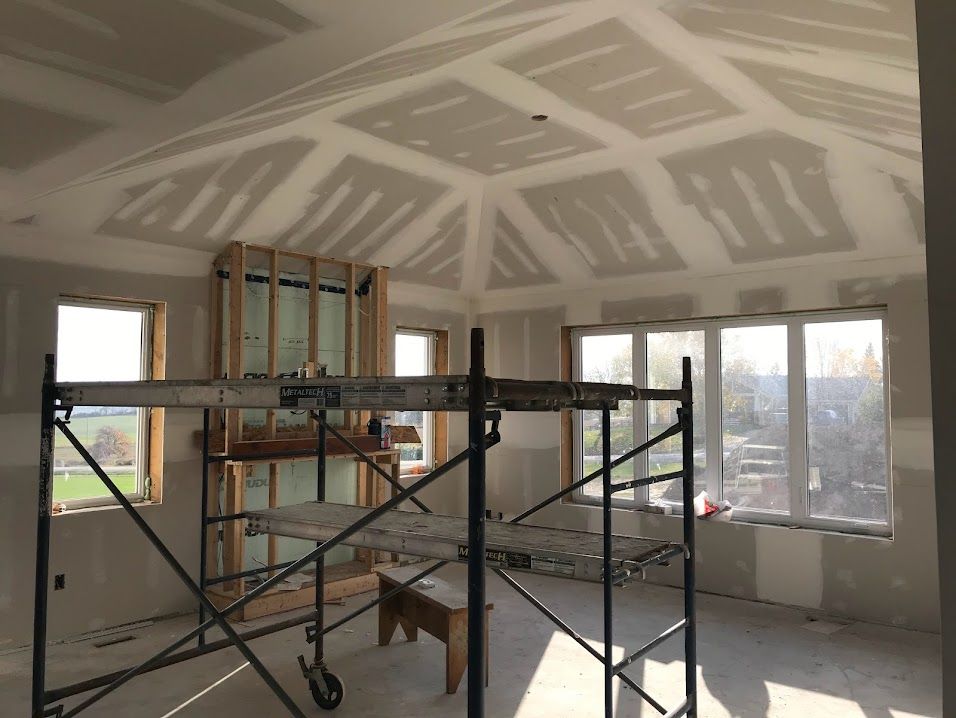
At Drywallers.ca, we’ve seen it for decades (since 1986). When drywall installation, taping, and trim work are planned as one system, your corners sharpen up, your lines stay straight, and your casings sit tight to the wall with fewer gaps, less caulking, and a better final paint finish.
Why Drywall Quality Determines Trim Quality
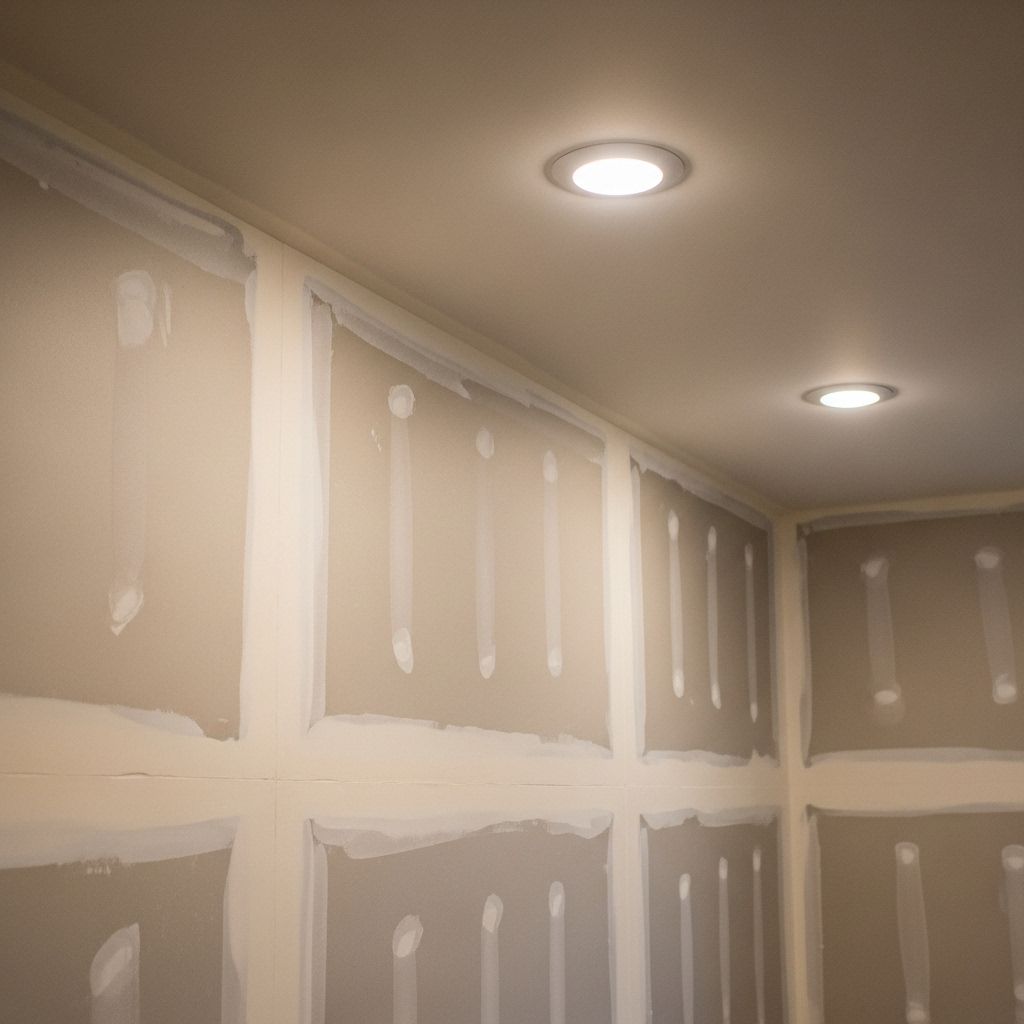
Even premium casing can look “off” if the drywall behind it isn’t flat. Wavy studs, uneven joints, and rushed sanding create shadows and gaps that draw the eye, especially in bright spring light.
If you’re investing in finished carpentry like baseboards, crown molding, door casings, built-ins, or custom shelving, the drywall needs to be done with trim in mind. That means:
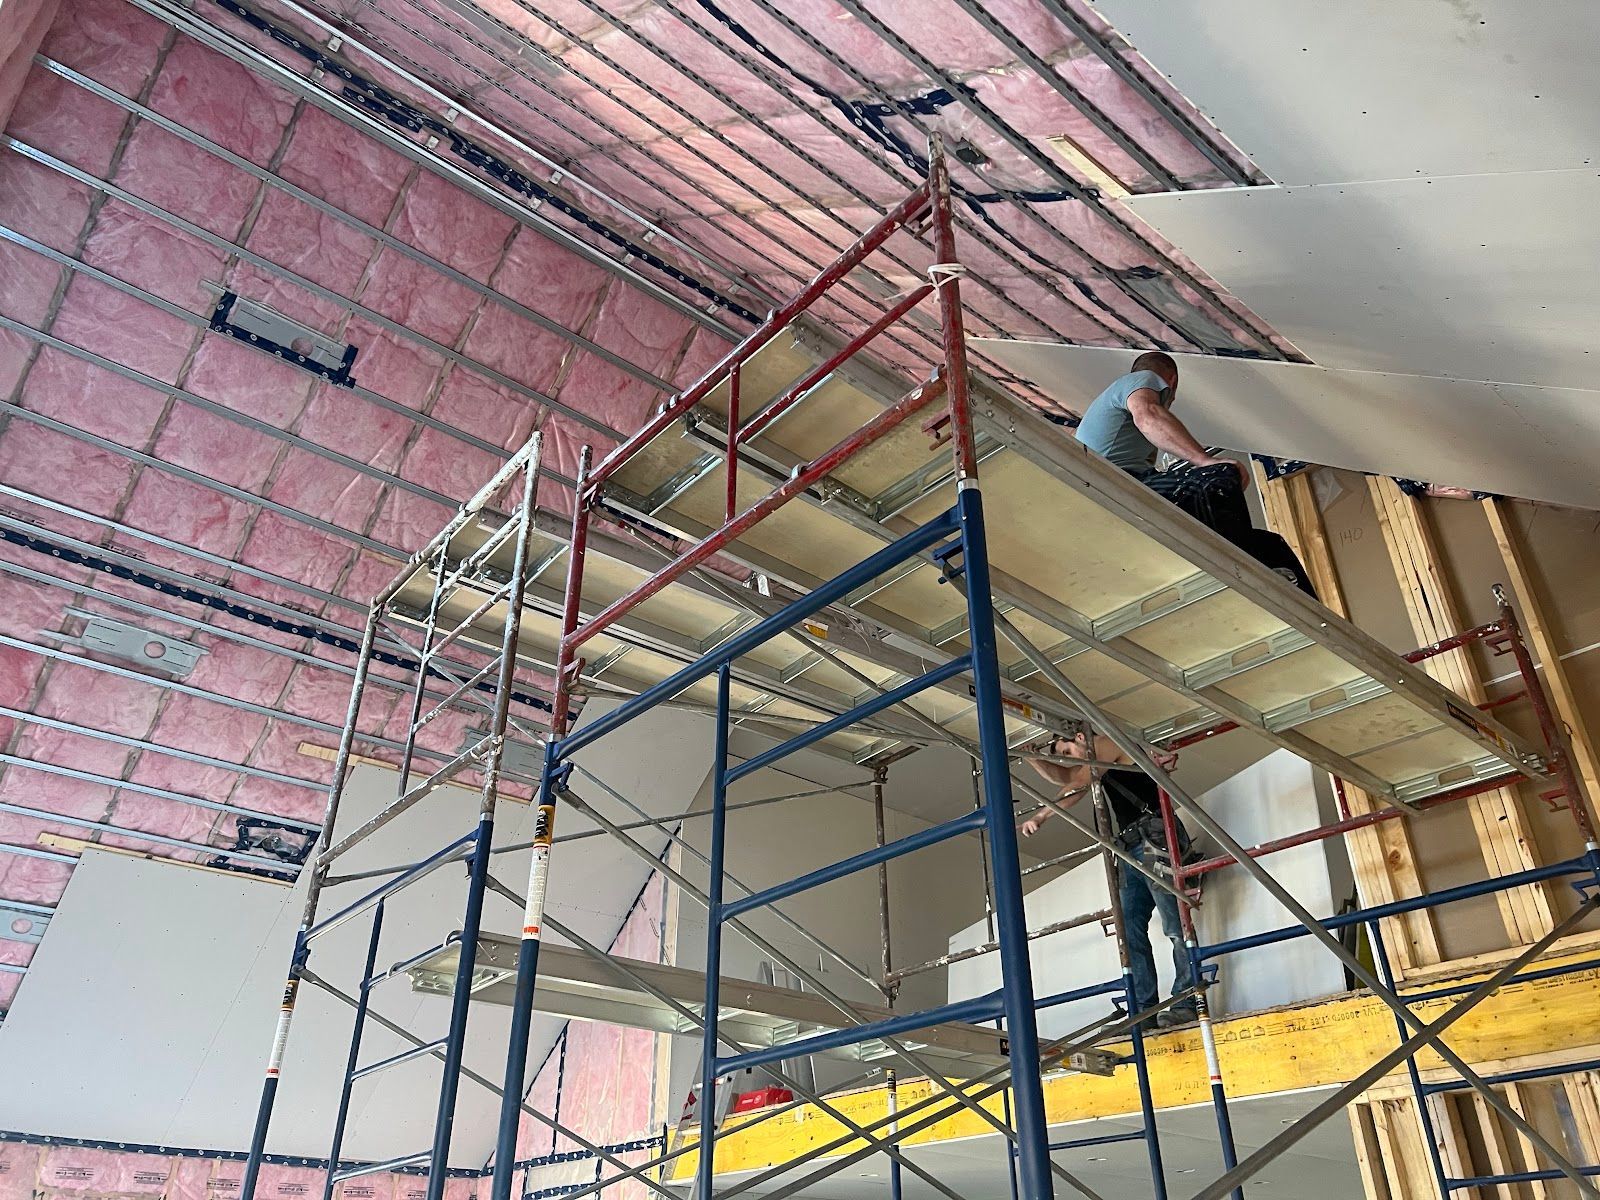
- Accurate drywall installation so boards land correctly on framing
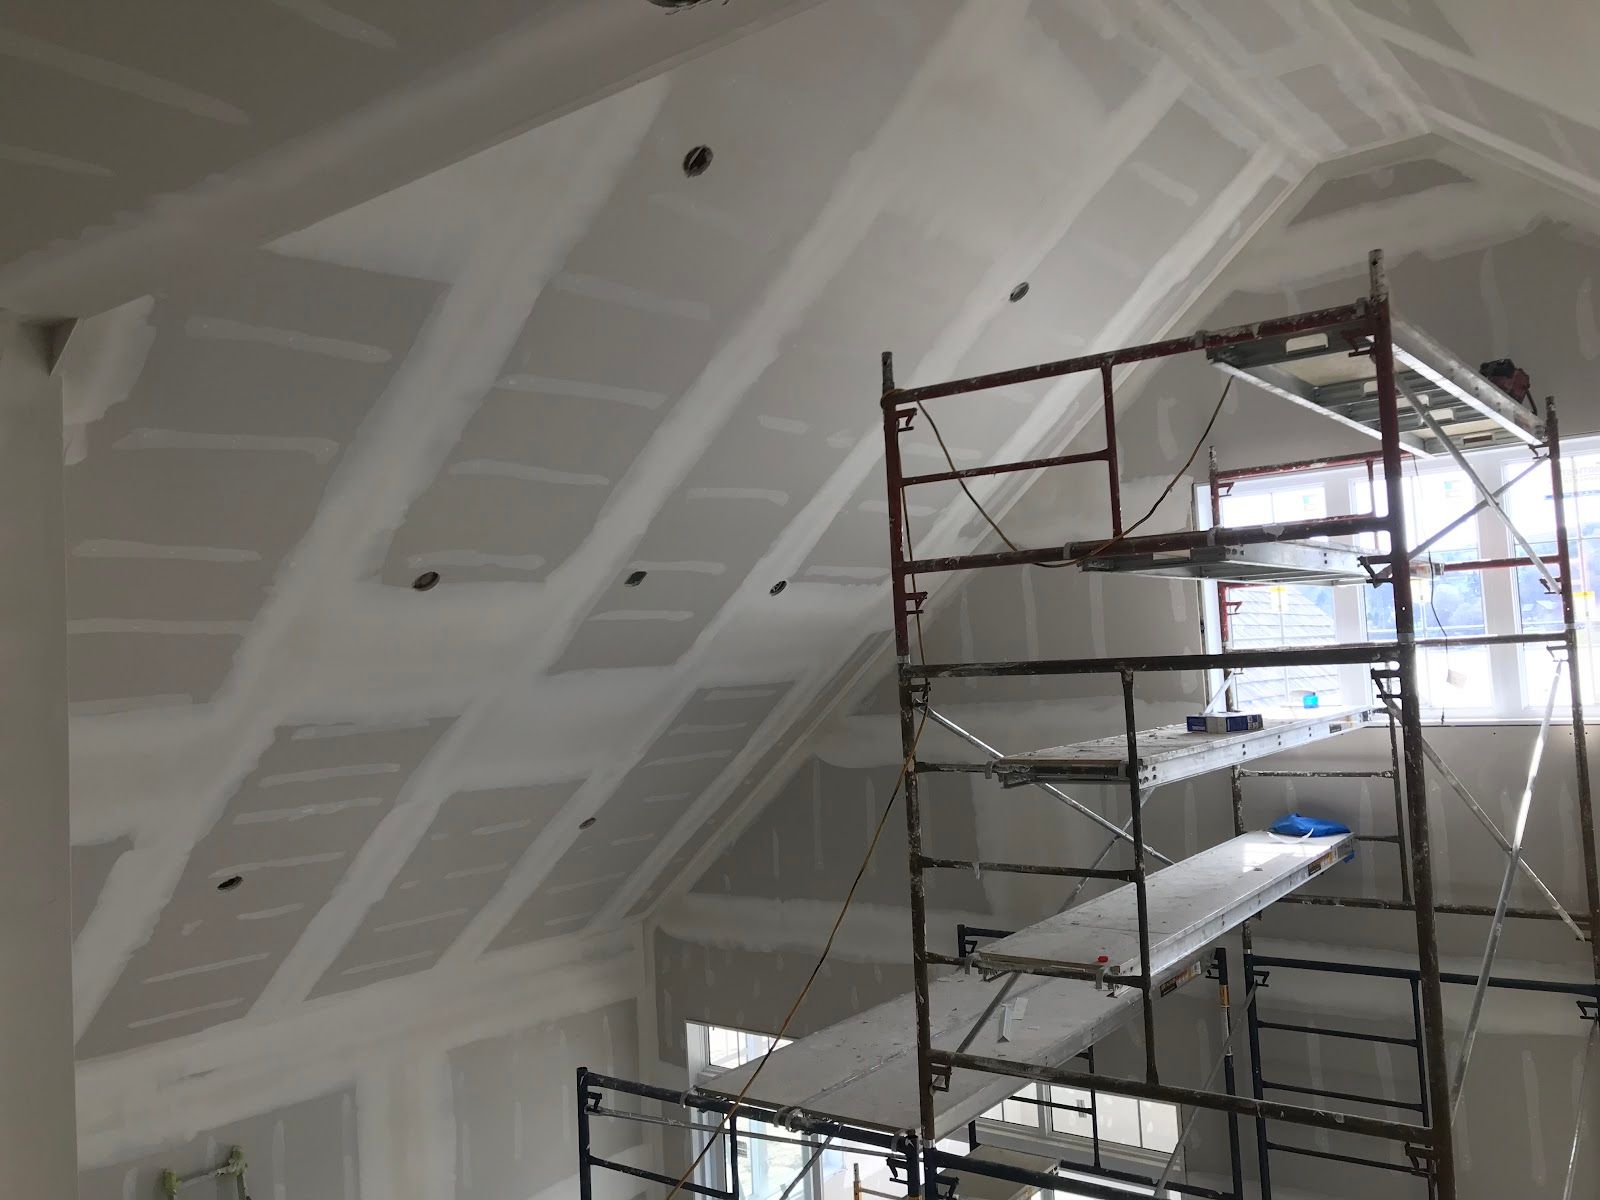
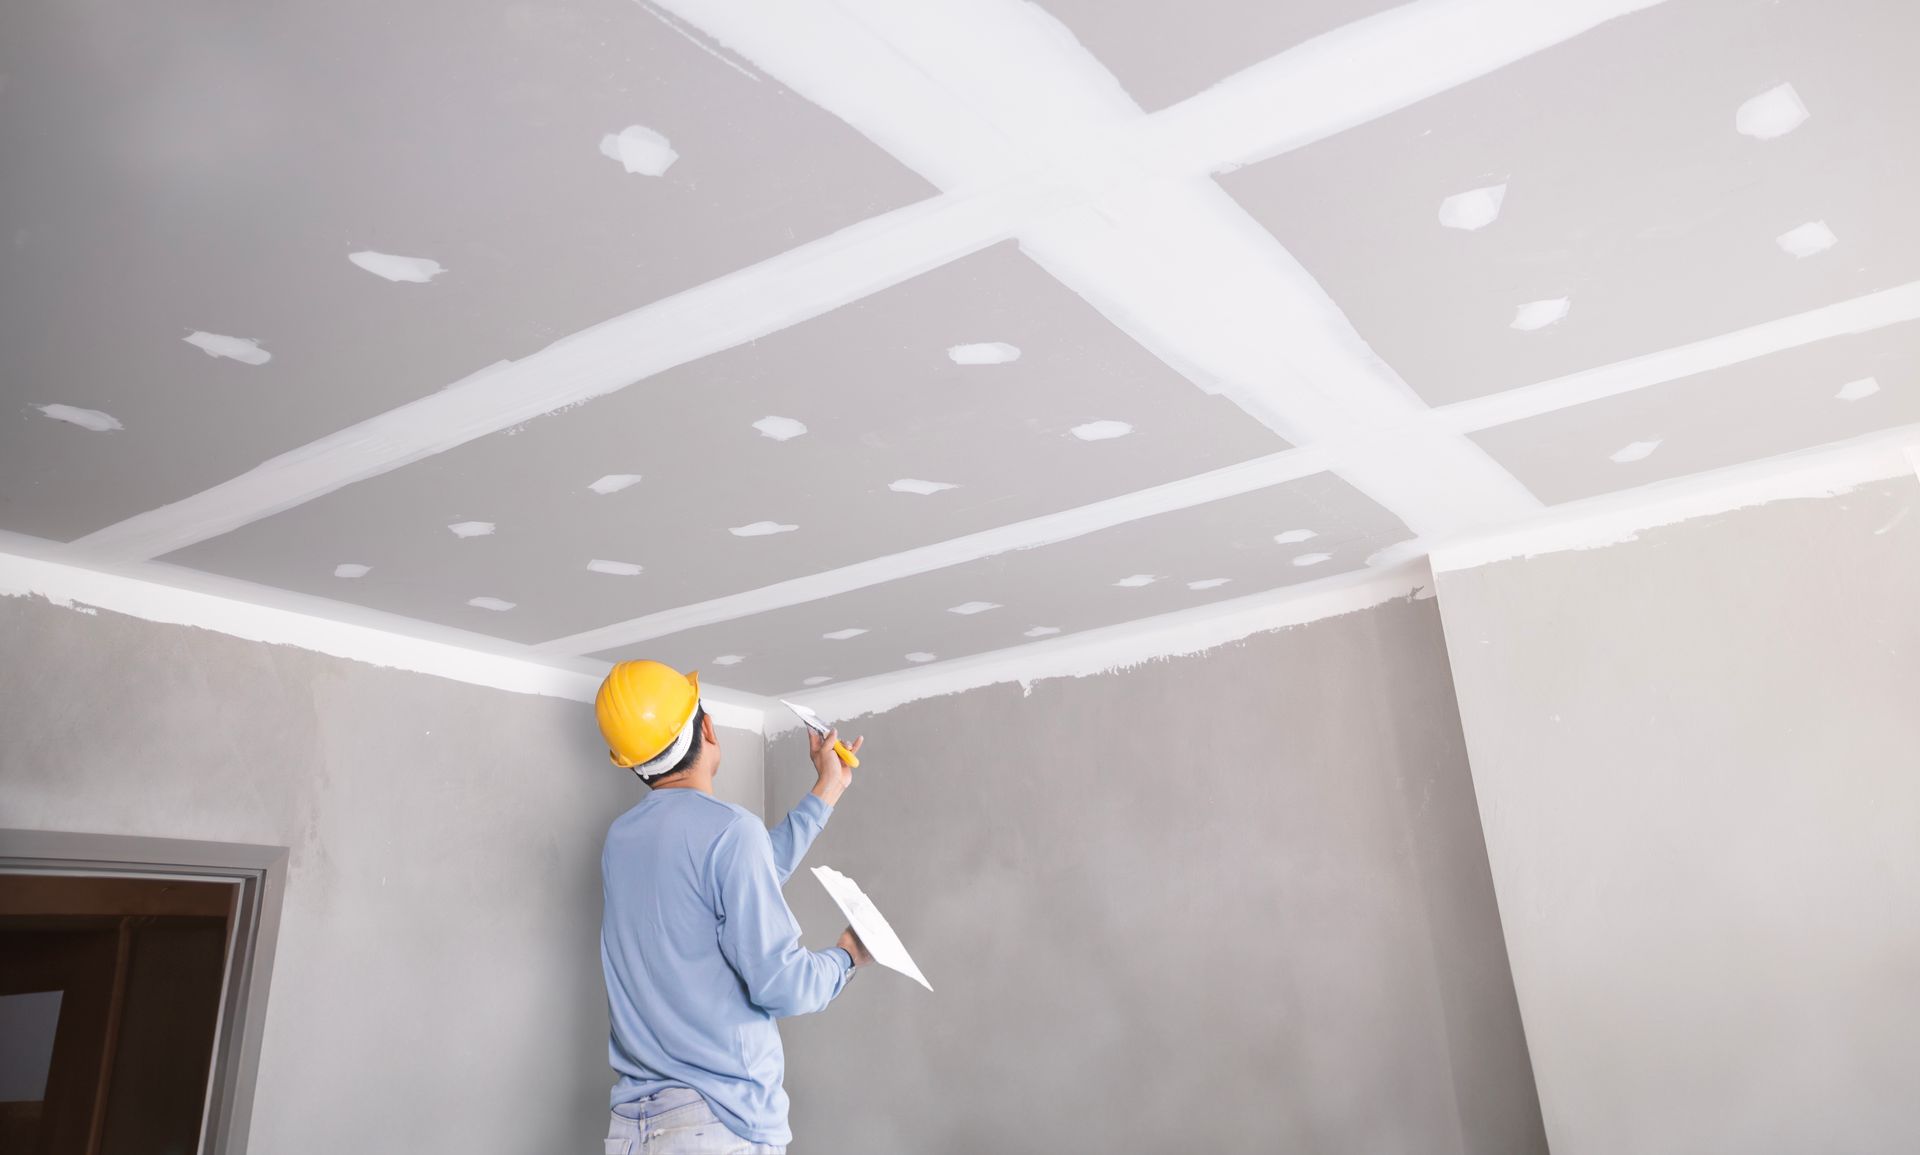
- Clean drywall finishing with consistent feathering at joints
- Corners that are straight and crisp (or intentionally softened, consistently)
- A smooth surface where trim will sit, especially near doors and windows
For high-visibility spaces like open-concept main floors, stairwells, and primary hallways, many homeowners and designers opt for a Level 5 finish to reduce joint “ghosting” and create that seamless, paint-ready look.
People Also Ask: Do You Install Trim Before Or After Drywall?
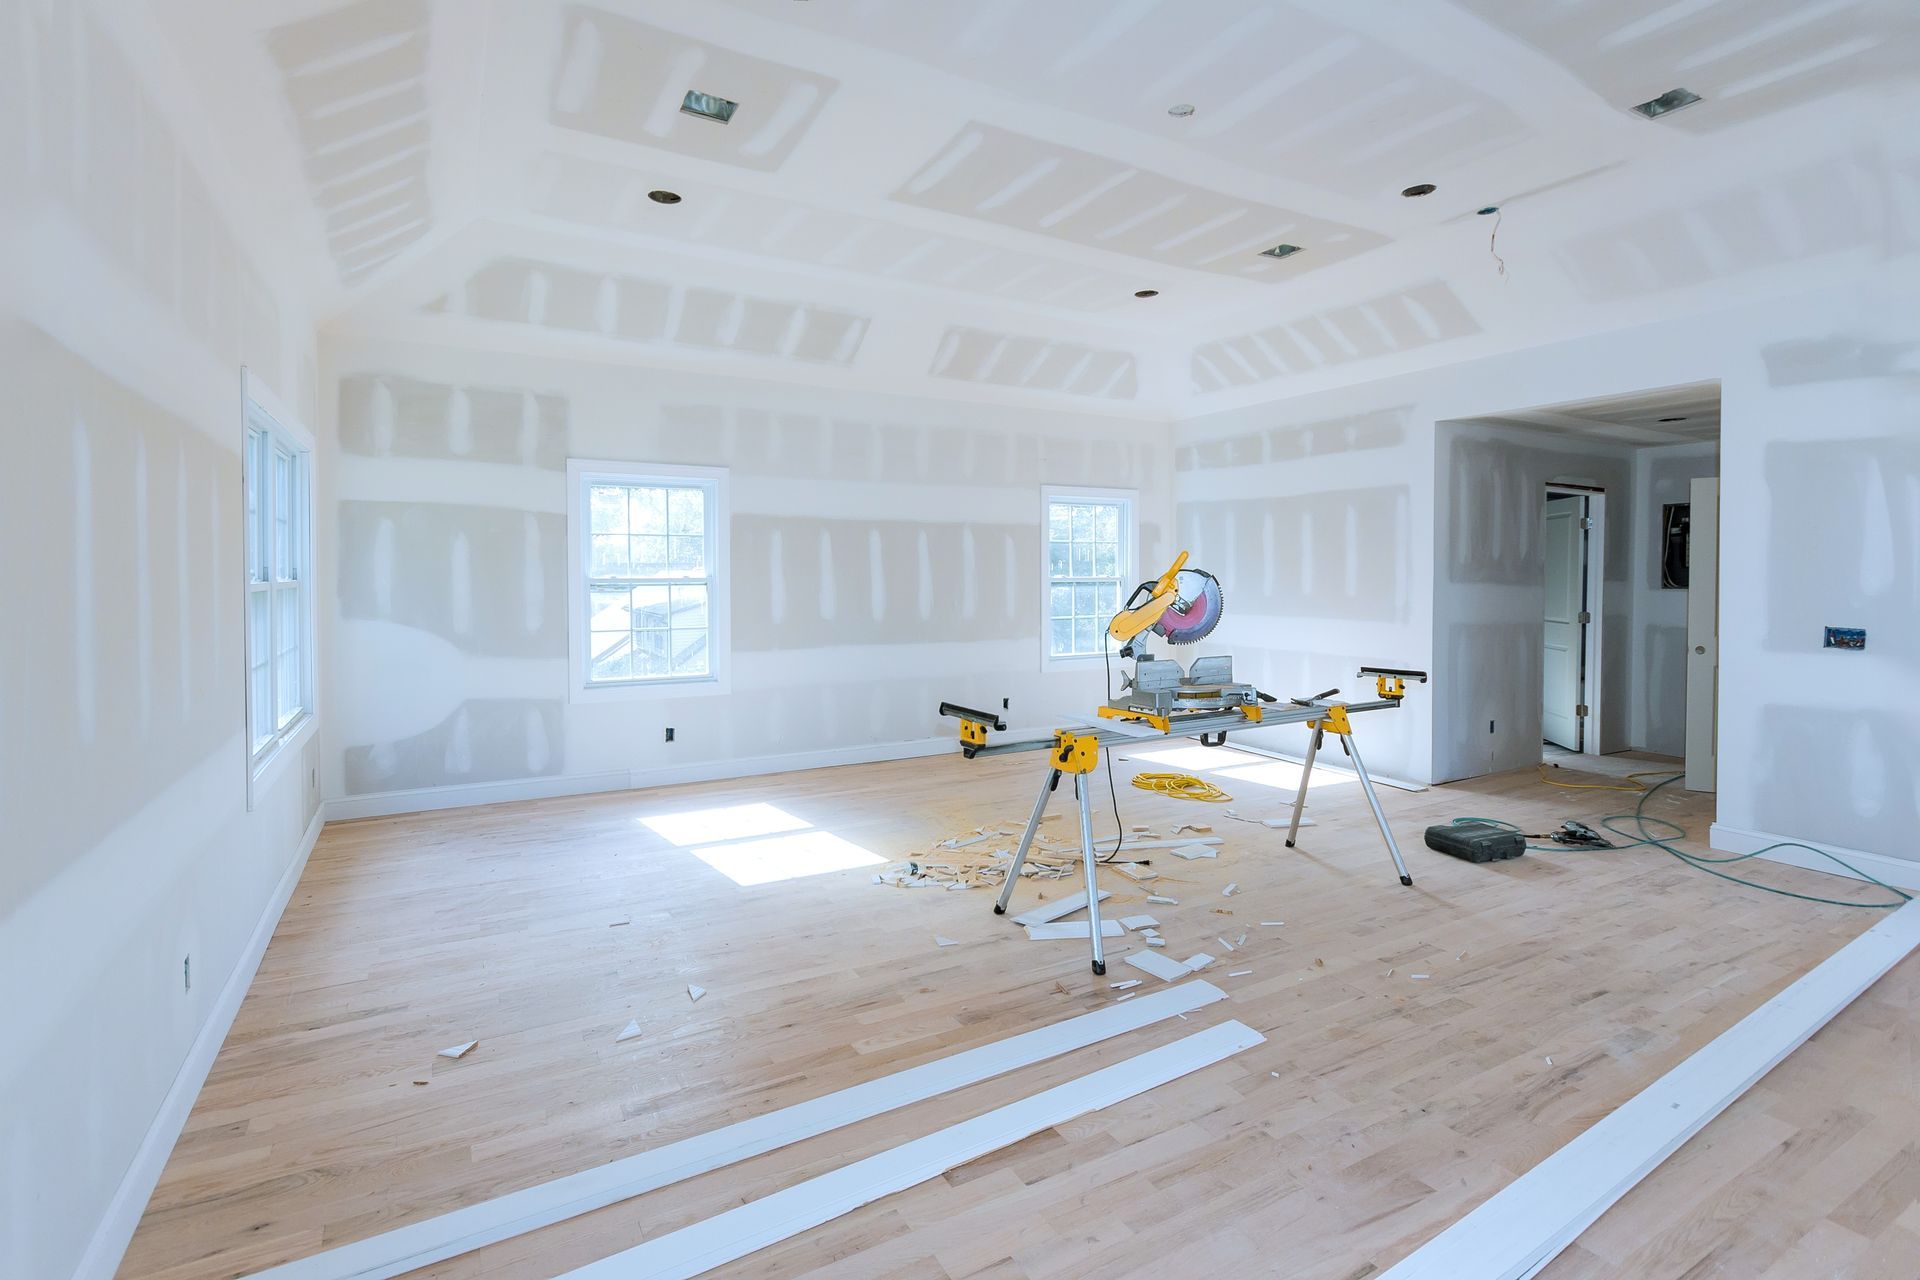
Trim is installed after drywall. Drywall goes up first, then it’s taped, mudded, sanded, and fully finished. Once walls are straight and ready, finished carpentry (door casings, baseboards, crown molding) is installed, then everything is caulked and painted.
The real secret is planning earlier than the trim stage. During framing installation and drywall installation, you want to think ahead about:
- Door and window jamb depth (do you need jamb extensions?)
- Wall thickness changes in basements (insulation, soundproofing, fire-rated assemblies)
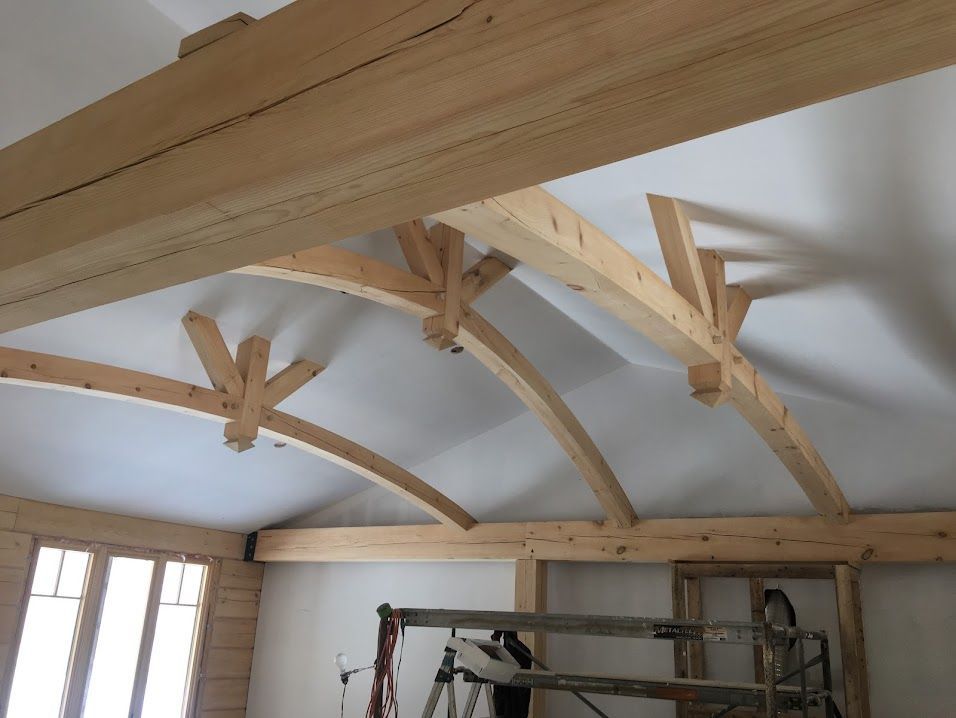
- Bulkheads and transitions where casing meets soffits or drops
When those details are handled upfront, trim goes on cleaner and faster, with a more professional look.
What Makes Trim And Door Casings Look Truly Seamless
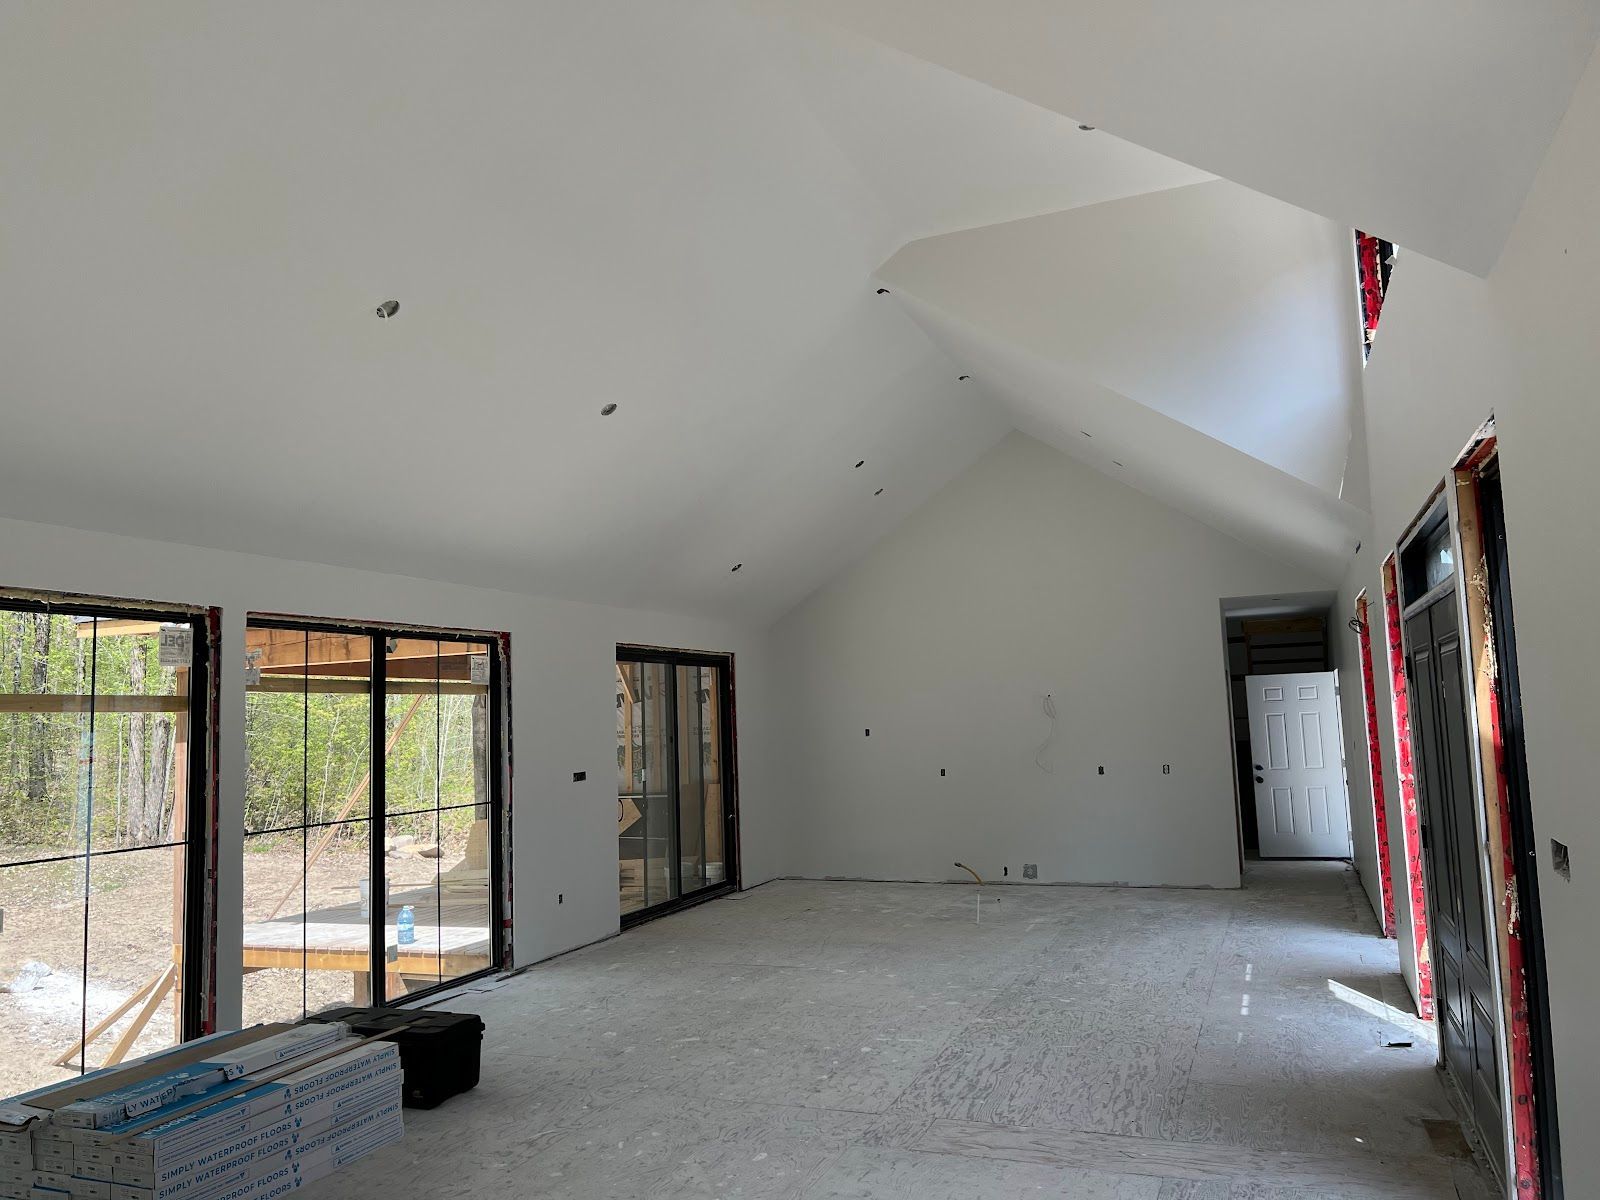
If you’re renovating a home in Newmarket, Vaughan, Etobicoke, or Muskoka, these are the small details that separate “new trim” from “custom finish”:
- Flatness at casing edges so the trim sits tight with minimal caulk lines
- Even reveals around doors (that consistent border that looks intentional)
- Corner consistency, especially where baseboards meet outside corners
- Proper backing at drywall edges near doors so fasteners hold and lines don’t shift over time
- Smooth transitions at repairs so patched drywall doesn’t telegraph through paint beside trim
This is also where drywall repair matters. If you’re replacing door casings after a layout change, fixing settlement cracks, or repairing water damage, the repair has to be blended properly or it will show once the new trim and fresh paint go on.
April-Proof Your Project: A Quick Spring Reno Checklist
Before you book trim work or schedule painters, check these items to avoid last-minute delays:
- Confirm drywall is fully dry and sanded before carpentry begins
- Look for nail pops, cracks, and uneven corners in strong daylight
- Decide where you want upgraded finishes (feature walls, entryways, open-concept areas)
If finishing a basement in Kitchener, Cambridge, or Waterloo, confirm moisture control and insulation details before drywall goes up
Plan door casing style early (modern flat stock vs. traditional profiles) so drywall returns and jamb depths make sense
From Basements To Main Floors: One Team, One Finish
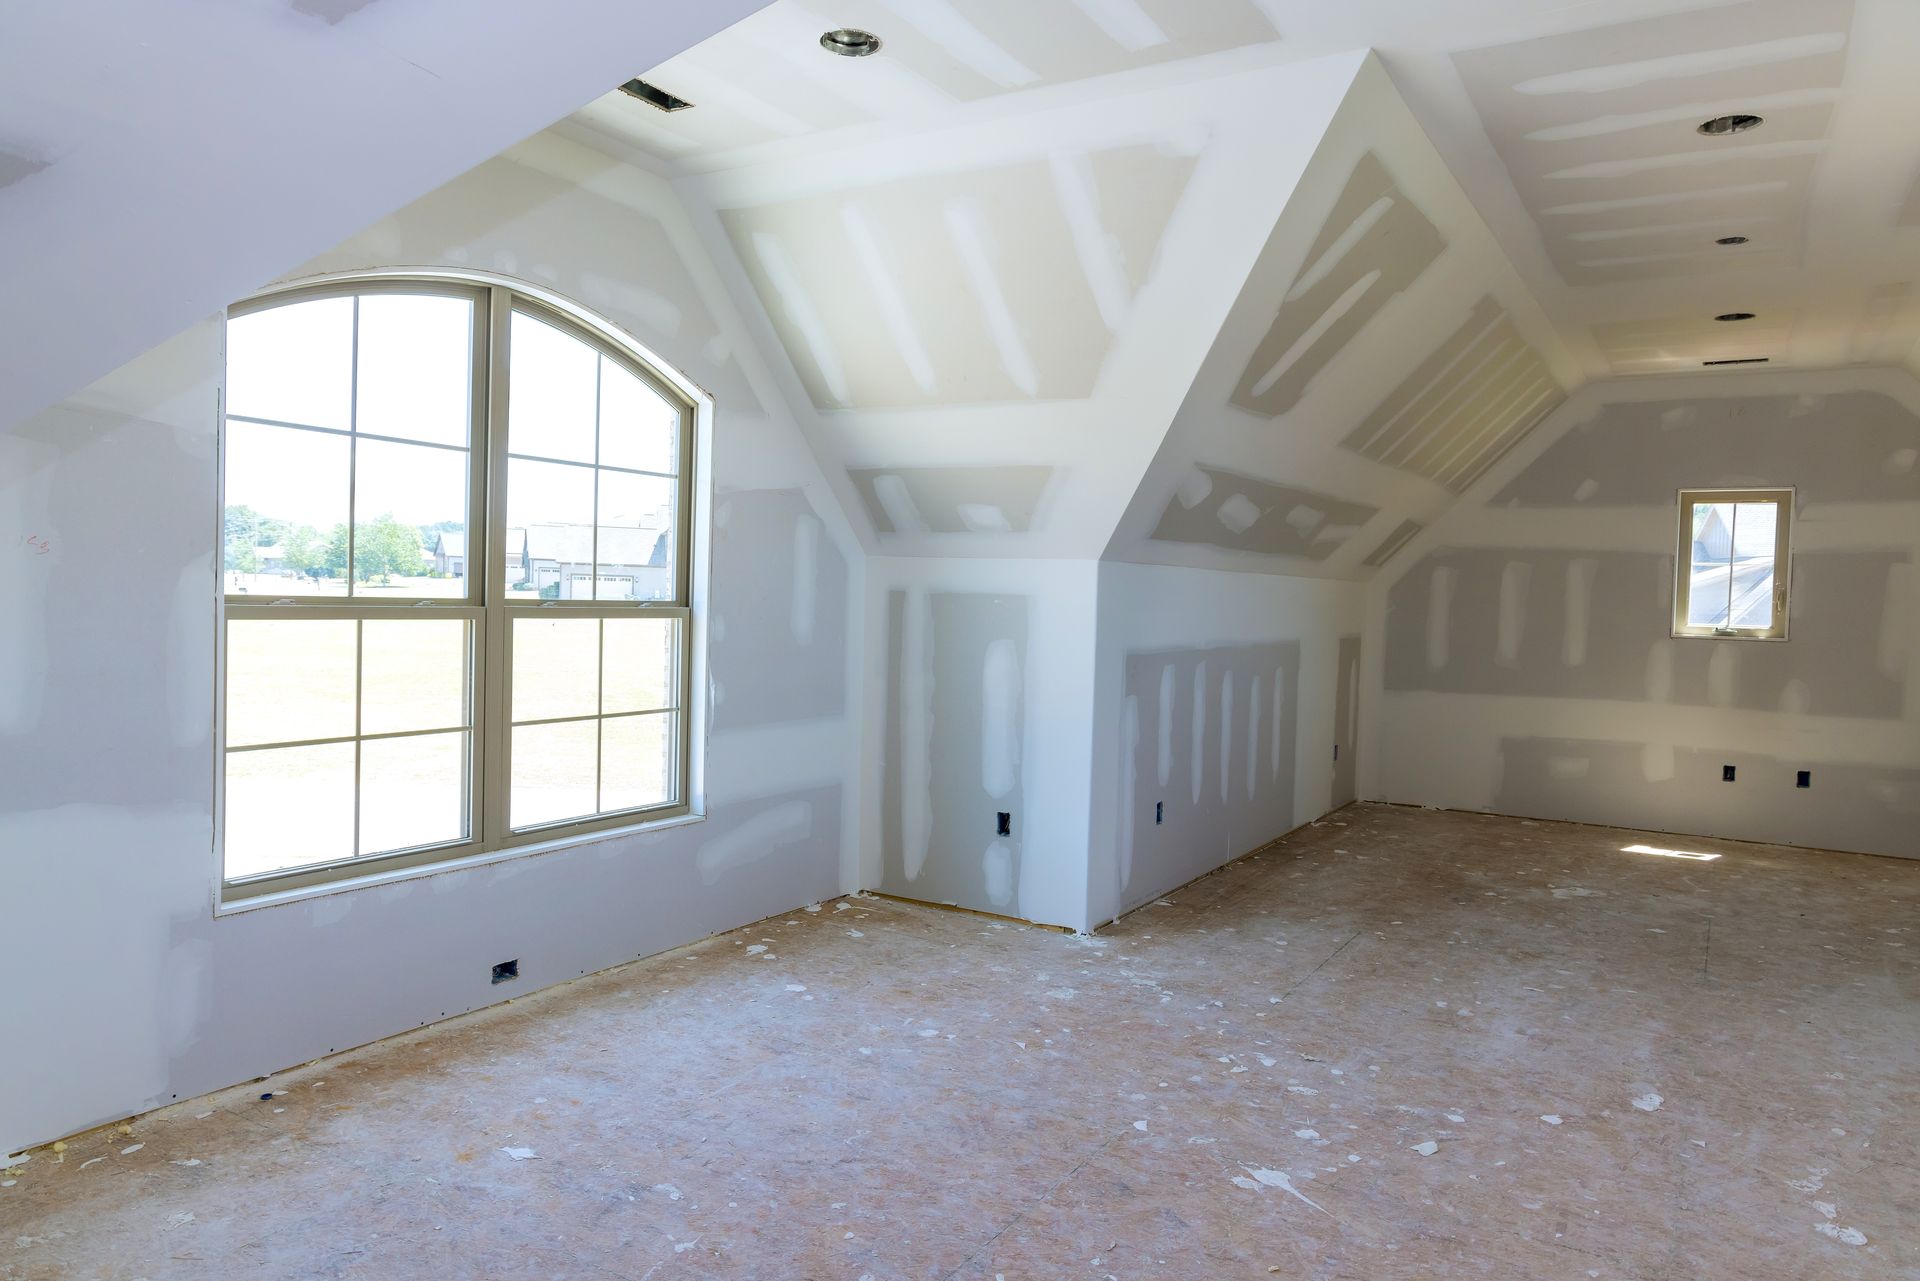
Many April projects in Southern Ontario include basement finishing and basement renovation—especially once the snow is gone and contractors can move materials easily. Basements are also where drywall and carpentry details can get tricky: bulkheads around ducts, framing variations, and tight transitions around doors.
Whether it’s residential drywall for a home update or commercial drywall for a workspace refresh, the best results come from coordination: drywall, finishing, and finished carpentry working toward the same final reveal.
Ready For Seamless Trim And Clean Lines This Spring?
If you’re planning drywall installation, drywall repair, basement finishing, or finished carpentry in Barrie, the GTA, Guelph, Newmarket, Orillia, Muskoka, Vaughan, Kitchener, Cambridge, Waterloo, Simcoe County, or Etobicoke, Drywallers.ca can help you get a smooth, professional finish that looks right for years.
Book a consultation with our team today, and let’s line up your drywall and trim details now—so your spring project stays on schedule and looks seamless in every room.
Share This Blog