Stop Winter Drafts: Finding and Fixing Hidden Drywall Moisture Damage
As October arrives and the leaves begin to fall, property owners have a very short window to prepare their buildings for the freezing months ahead. Hidden gaps and cracks in your exterior facing walls become major liabilities once the temperature drops. The specialists at Drywallers.ca know that ignoring minor moisture damage now will lead to massive heat loss and structural decay by January. Wet gypsum board loses all of its insulation value and invites cold air directly into your living space.
Finding and fixing compromised areas before the deep freeze sets in is crucial for maintaining a warm, energy efficient home. Once snow covers the ground and the framing freezes, exterior wall repairs become significantly more complicated and expensive. Taking immediate action this fall prevents the compounding costs of high heating bills and emergency winter tear outs. Following a clear assessment and repair plan ensures your property remains sealed and protected.
In This Article:
- Stage 1: Assess Exterior Walls for Hidden Moisture
- Stage 2: Schedule Targeted Drywall Repair
- Stage 3: Protect the New Drywall Before Freezing Temperatures Hit
- Frequently Asked Questions
- Stop Drafts Before Winter Arrives
Stage 1: Assess Exterior Walls for Hidden Moisture
Before the first frost hits Etobicoke, ON, you need to actively search for signs of water intrusion along your perimeter walls. Finding the damp spots now allows you to schedule targeted drywall repair before the moisture freezes and expands inside the wall cavity.
- Check Window Returns: Inspect the flat surfaces directly touching your exterior window frames for bubbling paint or soft spots.
- Inspect Floor Intersections: Look closely at the baseboards along outside walls for yellow water stains or swelling that indicates moisture wicking up from the foundation.
- Feel for Drafts: Run your hand over exterior electrical outlets and light switches on windy days to locate missing insulation or unsealed vapor barriers.
- Look for Condensation: Note any rooms where heavy condensation forms on the inside of the glass, as this excess humidity often drips down into the wall structure.
Stage 2: Schedule Targeted Drywall Repair
Once compromised areas are identified, fast and precise action is required to remove the wet material. Timing your residential drywall fixes for October ensures the framing has time to dry out completely before the exterior environment freezes solid.
- Book Professional Assessments: Have a qualified tradesman cut exploratory holes to check the condition of the wooden studs and fiberglass insulation.
- Remove Saturated Board: Cut away any gypsum panels that feel soft or show dark organic growth on the paper backing.
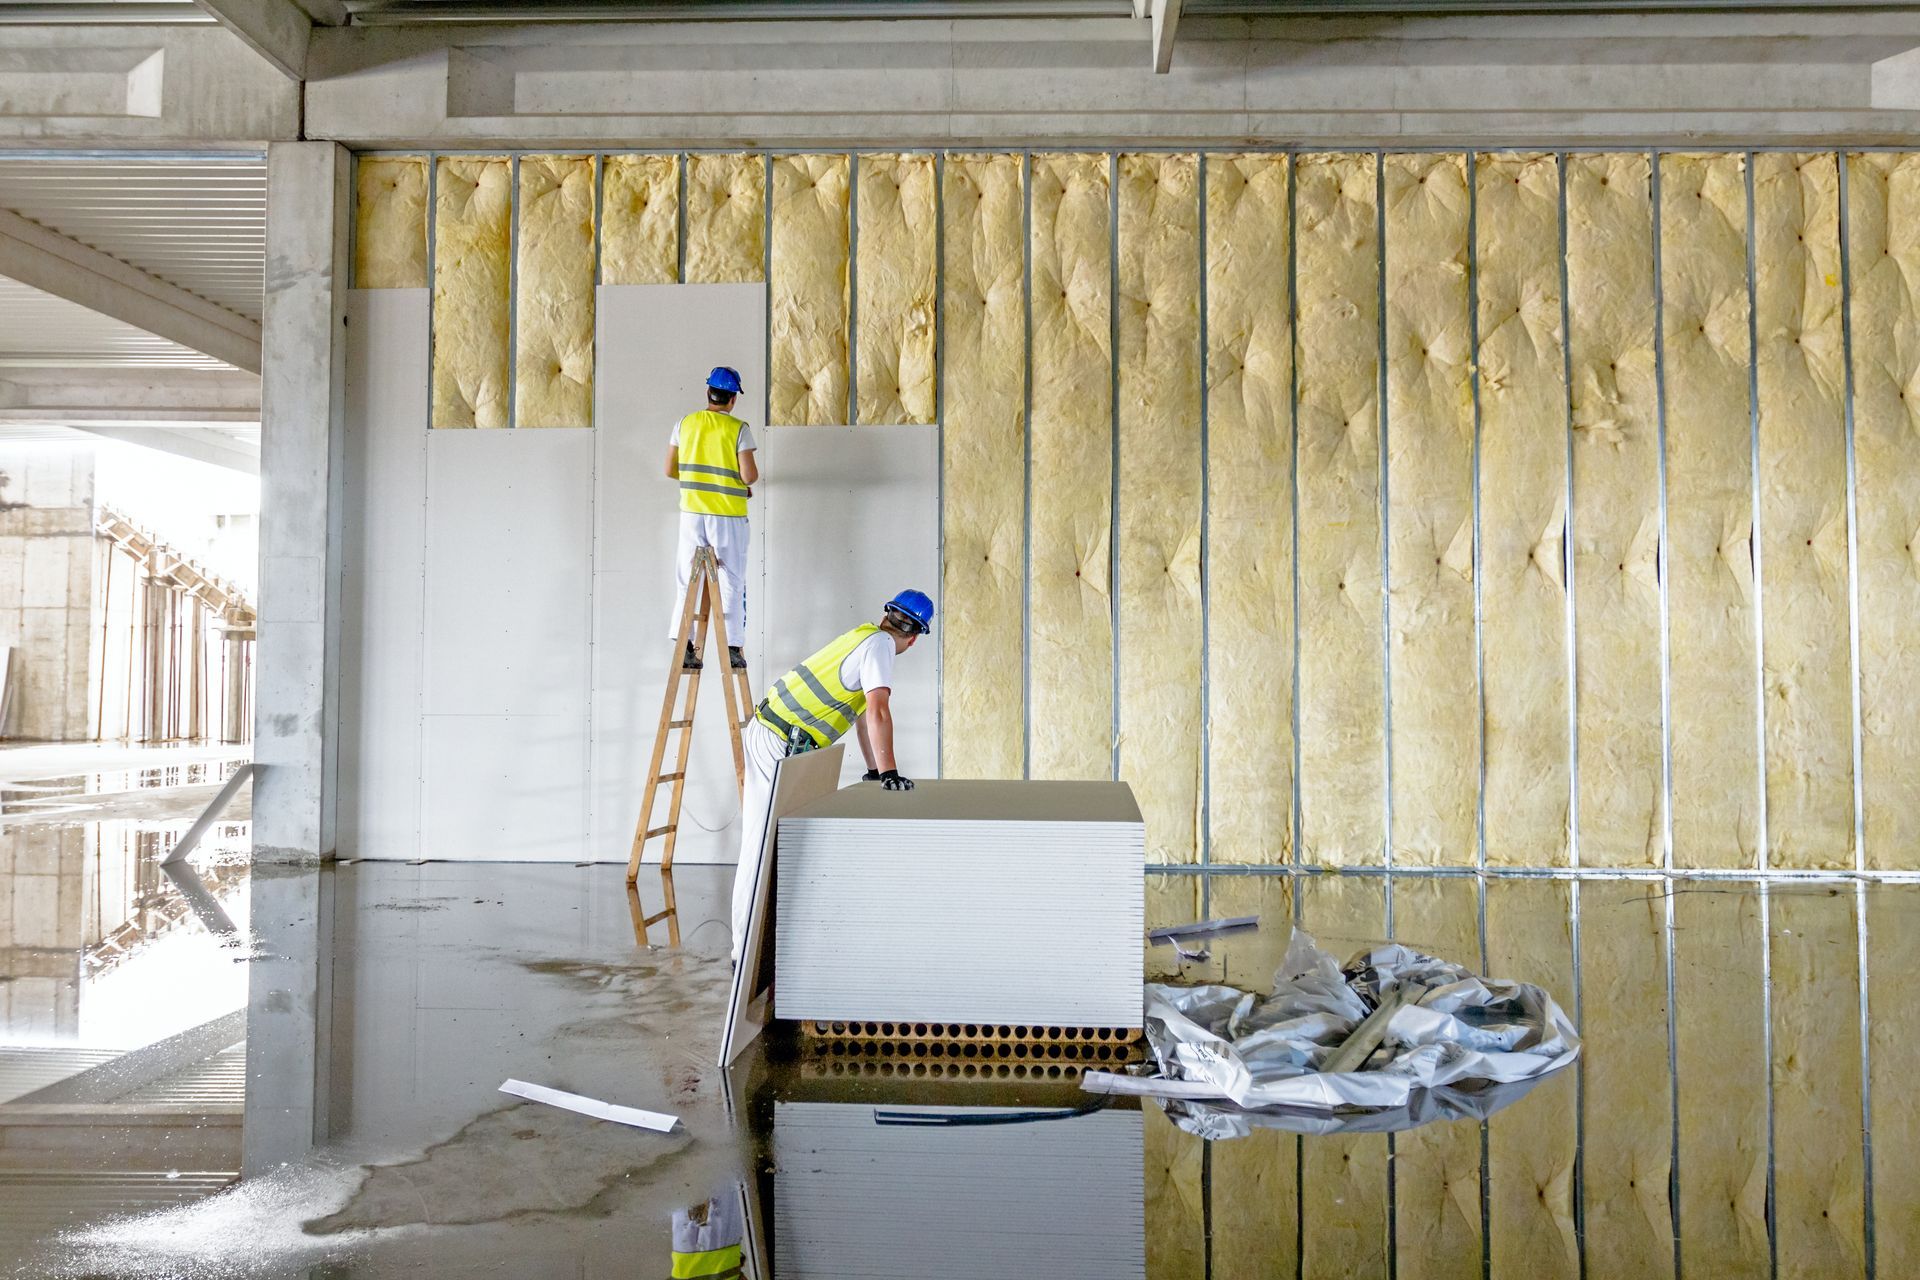
- Replace Wet Insulation: Discard and replace any damp fiberglass batts, as they compress when wet and permanently lose their thermal resistance.
- Seal Air Leaks: Apply acoustic sealant or expanding foam around all exterior penetrations before a framing installation team seals the wallboard.
Stage 3: Protect the New Drywall Before Freezing Temperatures Hit
The final stage involves securing the new installation against the incoming winter climate. Fresh joint compound contains a significant amount of water, which must evaporate in a controlled environment to create a strong, draft free seal.
- Run Indoor Heating: Keep the household temperature at a stable twenty degrees Celsius to help the new mud cure properly.
- Manage Indoor Humidity: Use exhaust fans in bathrooms and kitchens to prevent warm indoor moisture from migrating toward the cold exterior walls.
- Prime and Seal Quickly: Apply a high quality latex primer as soon as the mud is sanded to create a final vapor barrier against the room environment.
► The most important fact to act on right now is that wet wall insulation loses up to fifty percent of its thermal resistance, meaning delayed repairs will severely increase your winter heating costs.
Frequently Asked Questions
Can cold air come through drywall?
Solid drywall itself blocks air movement, but cold drafts easily travel through the unsealed gaps between the gypsum panels and the wooden framing. If the vapor barrier behind the board is torn or missing, frigid air will push through the electrical outlets, baseboard gaps, and window casings. Proper taping and caulking are necessary to stop this convective heat loss.
How do you check for moisture behind drywall?
Professionals use non destructive digital moisture meters pressed against the painted surface to detect hidden water pockets inside the gypsum core. If the readings are high, the technician will drill a small hole to insert a specialized camera. This allows them to visually inspect the wooden studs and insulation for rot without tearing down the entire wall.
Should I replace drywall that got wet?
If the gypsum board was saturated with clean water and dried completely within forty eight hours, it might remain structurally sound enough to keep. However, if the board has been exposed to a slow, ongoing leak or shows any signs of dark spotting or swelling, it must be cut out and discarded. Compromised drywall loses its fire rating and becomes a breeding ground for dangerous indoor air quality issues.
Stop Drafts Before Winter Arrives
Allowing moisture damaged walls to sit untreated through the freezing months is a guaranteed way to ruin your framing and spike your energy bills. Catching the drafts and wet spots right now keeps your repair costs low and your home comfortable. The skilled repair experts at Drywallers.ca are ready to seal your property against the harsh weather. Call us today to lock in your fall repair schedule before the cold weather takes over.
Share This Blog