Why Fall Humidity Ruins New Custom Home Drywall Installations
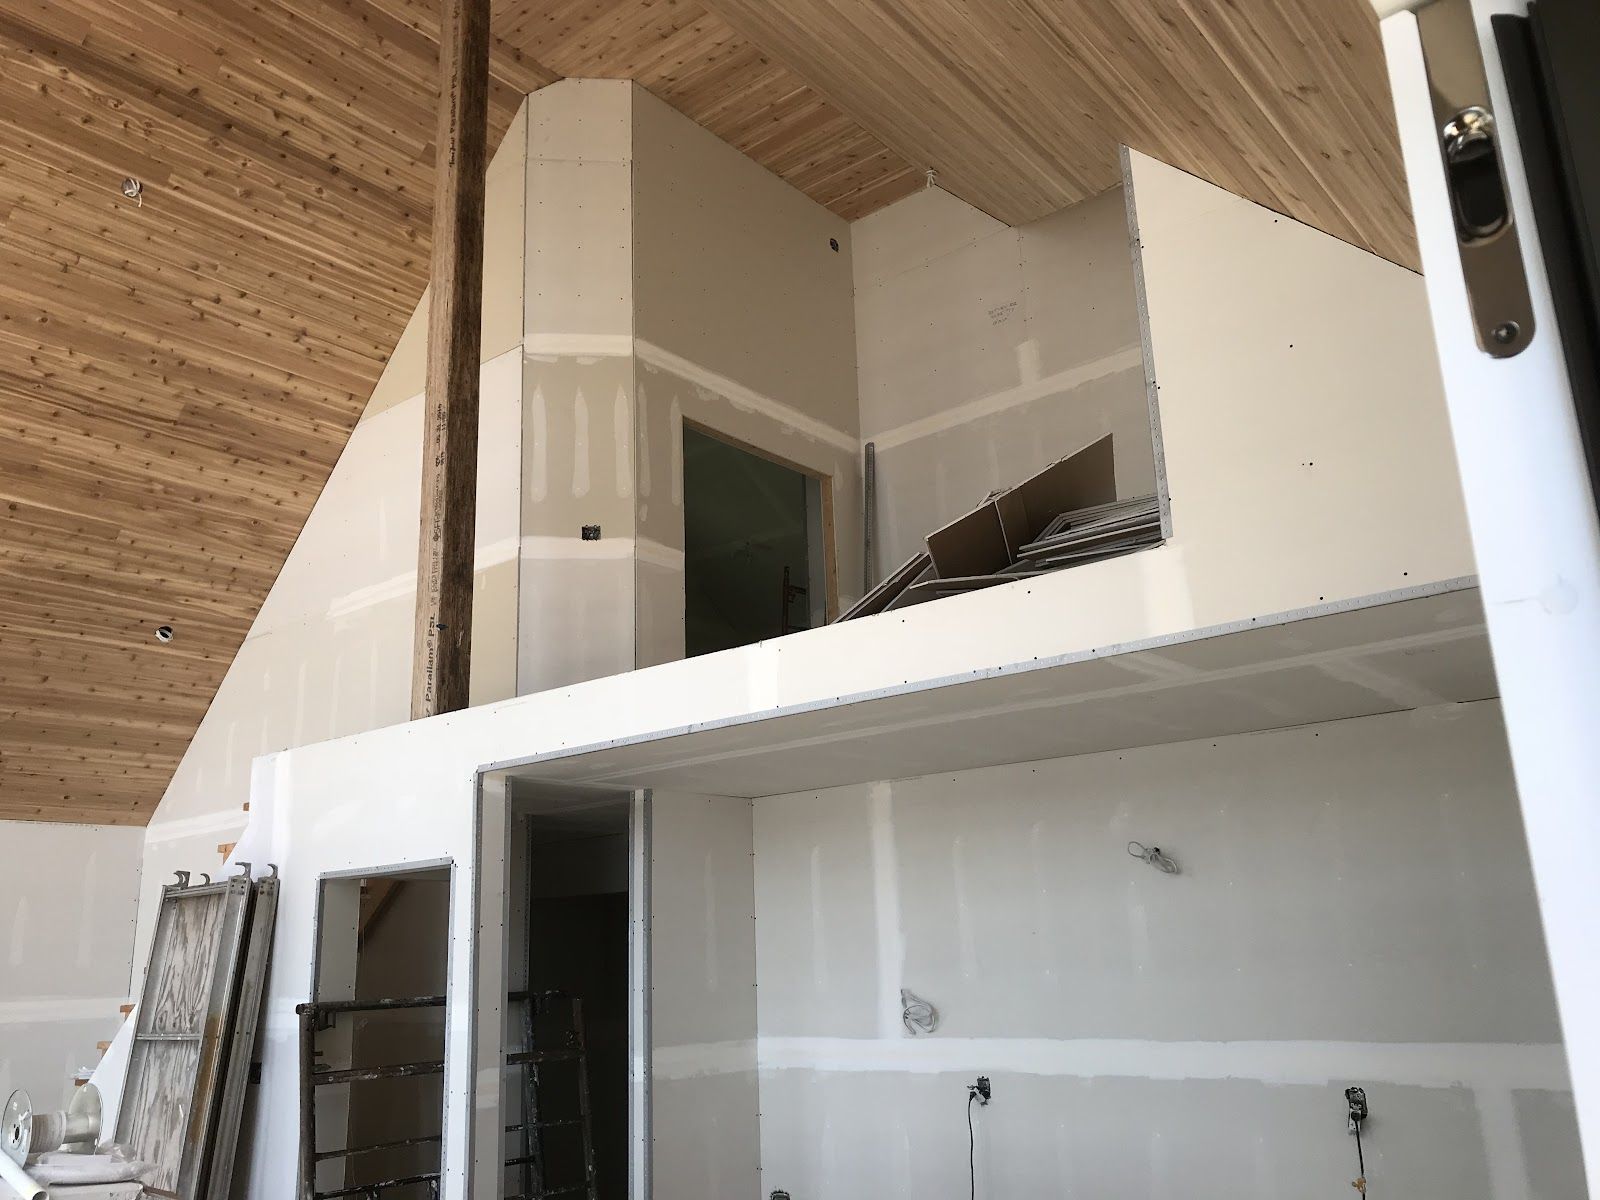
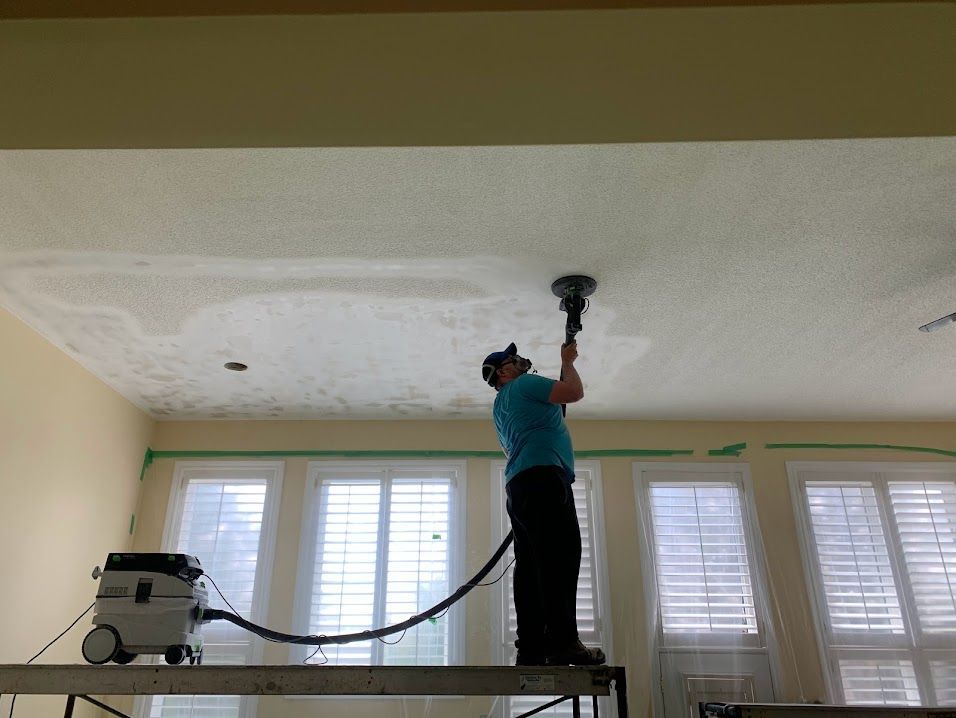
The transition from summer to fall brings unpredictable weather patterns that create massive challenges for local construction projects. For homeowners managing a custom build, the sudden drop in temperature and sharp spikes in humidity can derail the entire finishing schedule. The team at Drywallers.ca knows that applying joint compound in an uncontrolled environment leads to disastrous aesthetic and structural results. When the air is saturated with moisture, the materials simply cannot bond the way they were engineered to.
Addressing these climate conditions before the taping phase begins is absolutely essential for a durable finish. Leaving the job site exposed to crisp nights and damp mornings causes the gypsum paper to swell and the mud to remain soft. Understanding why fall humidity ruins new custom home drywall installations allows you to make smart scheduling decisions. By acting quickly to control the indoor environment, you secure a perfect canvas for your final paint coatings.
In This Article:
- Stage 1: Assess Job Site Climate Conditions
- Stage 2: Schedule Proper Drywall Installation Windows
- Stage 3: Protect the Finish from Temperature Drops
- Frequently Asked Questions
- Secure Your Fall Construction Schedule Now
Stage 1: Assess Job Site Climate Conditions
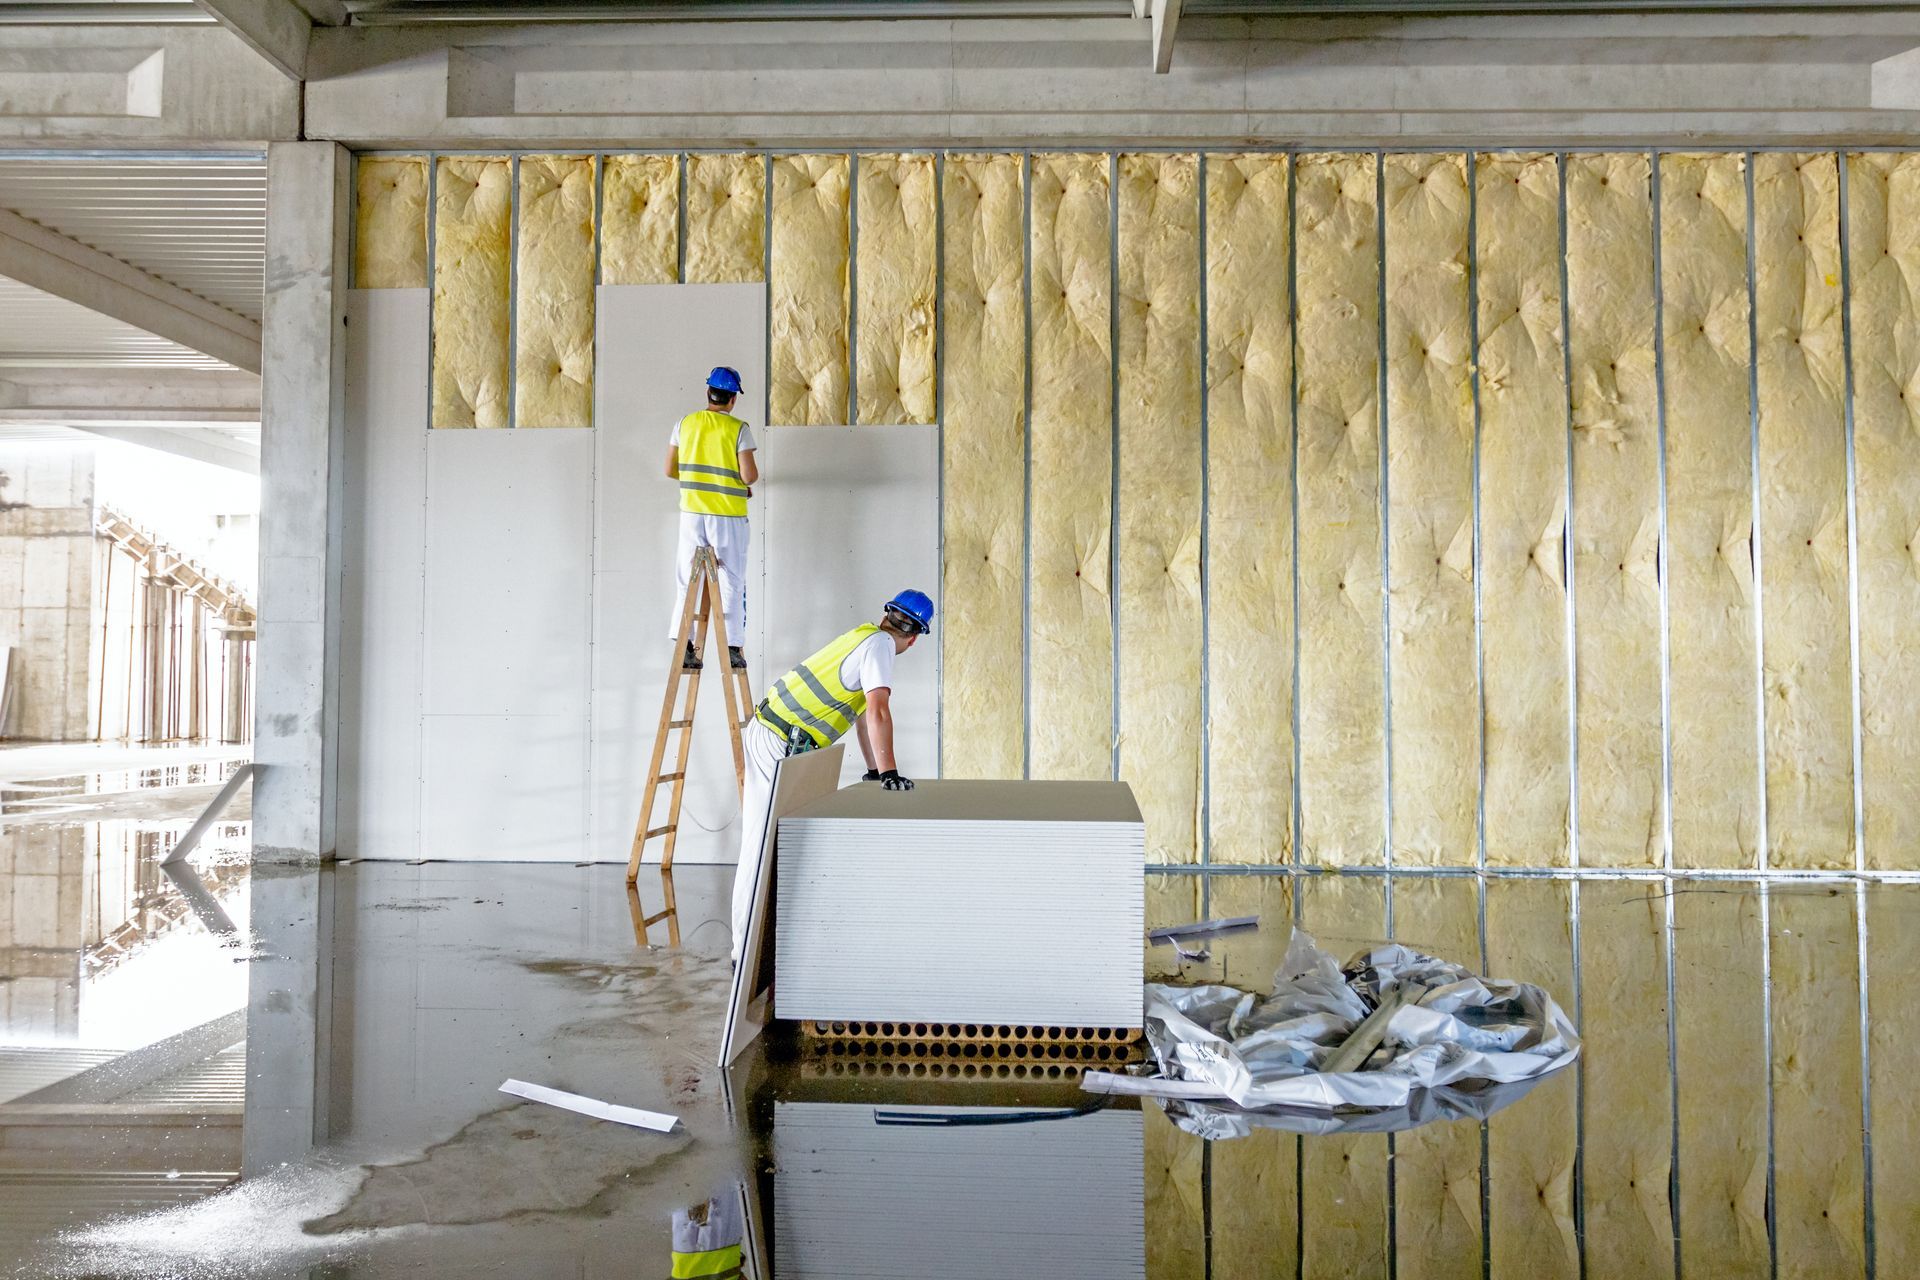
Before a single sheet of gypsum is hung, the interior environment must be evaluated for excess moisture. During early autumn in Muskoka, ON, the air holds a deceptive amount of dampness that seeps into raw lumber and exposed insulation. Taking strict measurements right now prevents severe adhesion failures during the taping and finishing phases.
- Test framing moisture: Use a digital moisture meter on the wooden wall studs to ensure they have dried sufficiently before enclosing them.
- Check ambient humidity: Place a hygrometer in the center of the main living space to verify the relative humidity is below sixty percent.
- Inspect exterior sealing: Confirm that all windows, doors, and vapor barriers are fully installed to stop outside air from drafting inward.
- Evaluate mechanical readiness: Ensure the permanent HVAC system or professional temporary heaters are operational and safely vented to the exterior.
Stage 2: Schedule Proper Drywall Installation Windows
Timing is the most critical factor when planning residential drywall work during the fall season. You cannot rush the drying times of joint compound when the weather turns cool and damp. Coordinating your trades appropriately ensures that each layer of mud cures completely before the next one is applied.
- Block out extended timelines: Add at least three extra days to your finishing schedule to accommodate slower drying times between coats.
- Coordinate heating fuel: Arrange for continuous propane or natural gas deliveries if using temporary site heaters so the temperature never drops overnight.
- Book final inspections early: Schedule your municipal framing and insulation reviews well in advance to avoid leaving raw materials exposed to the cold while waiting.
- Restrict site access: Limit the number of other trades working inside the house to keep exterior doors closed and retain indoor heat.
► The critical warning to heed is that applying a second coat of mud over a damp base coat will trap moisture inside the wall, guaranteeing that your seams will bubble and crack within the first year.
Stage 3: Protect the Finish from Temperature Drops
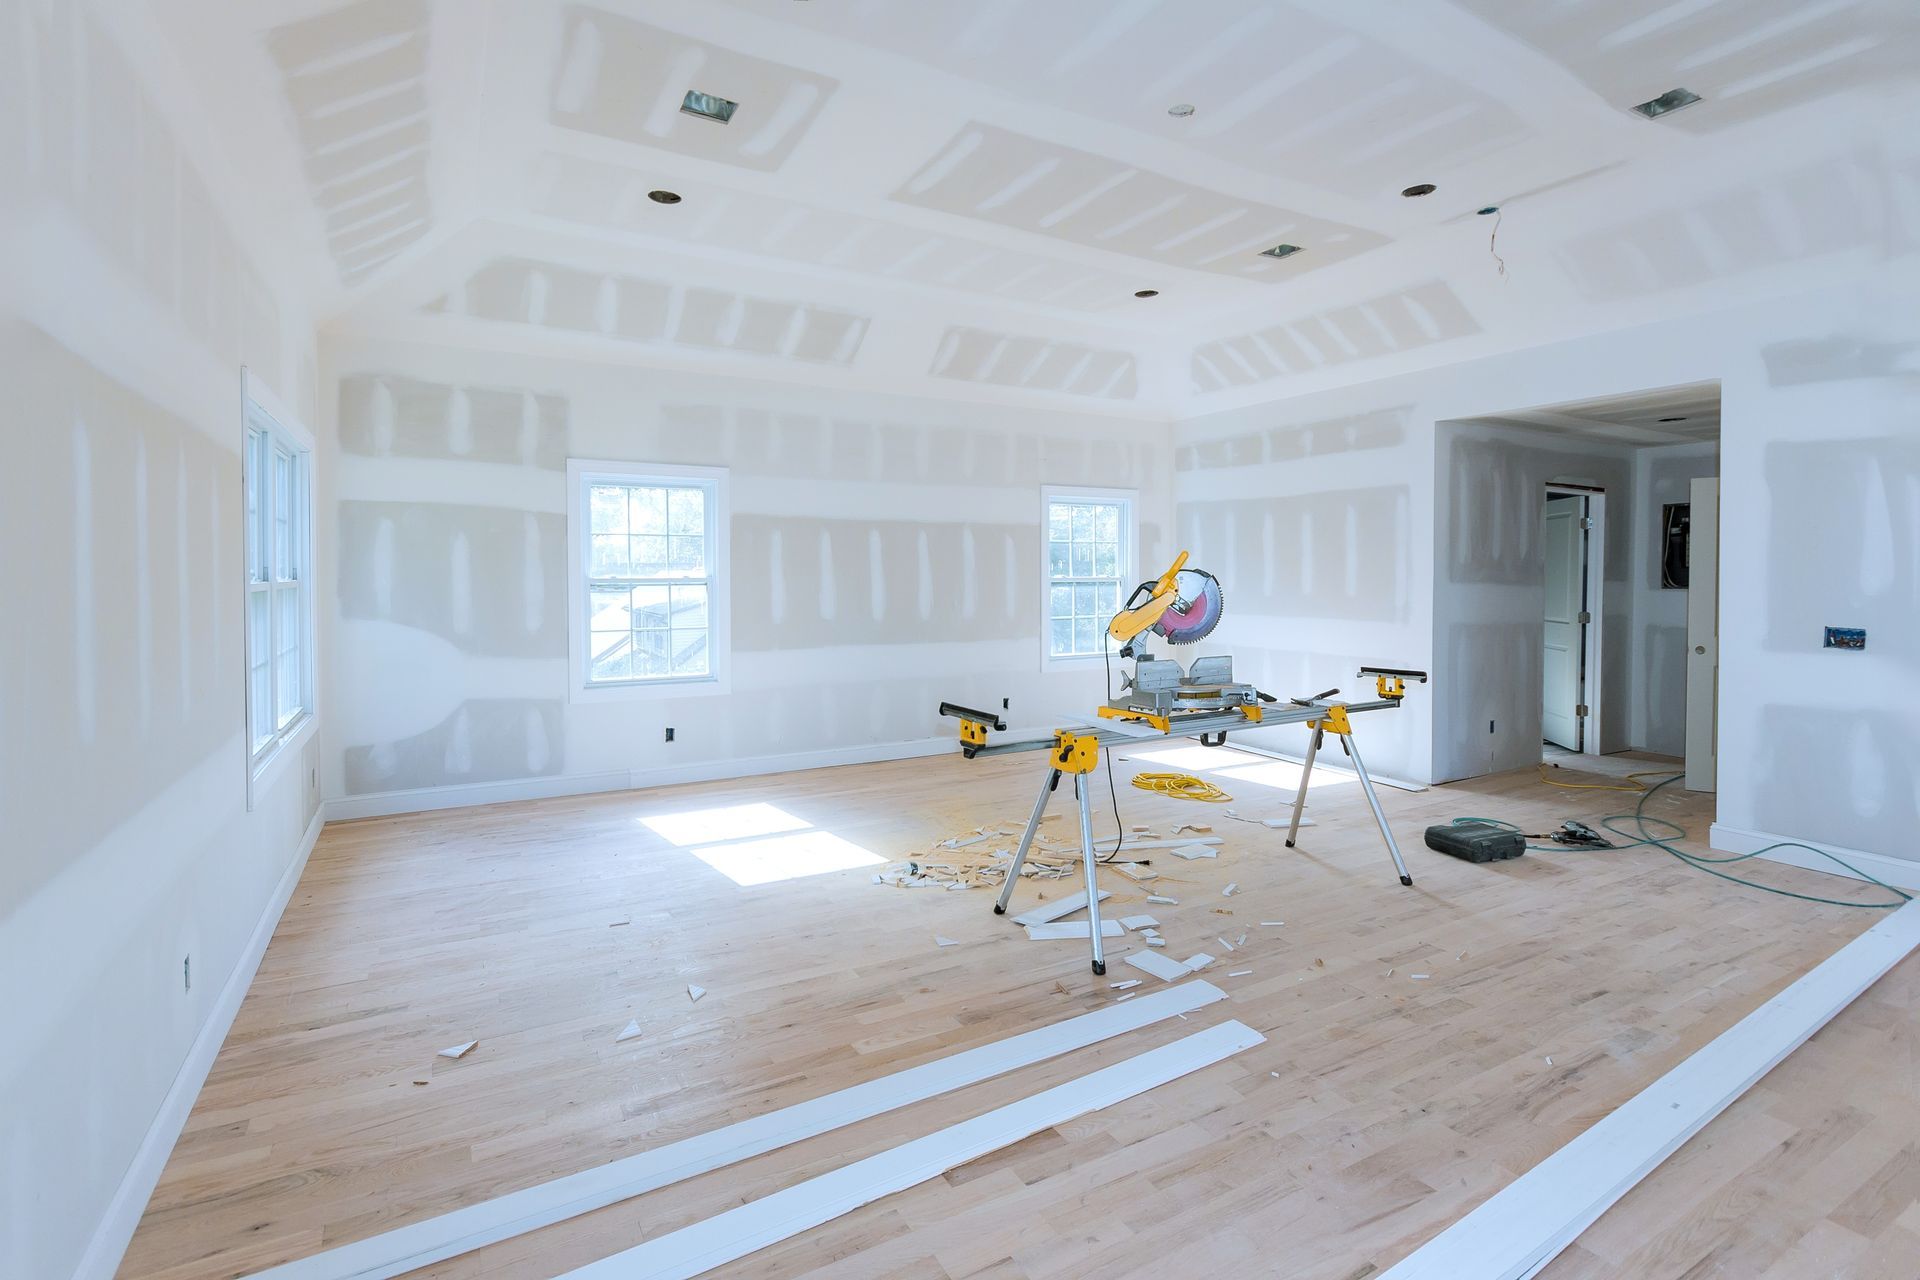
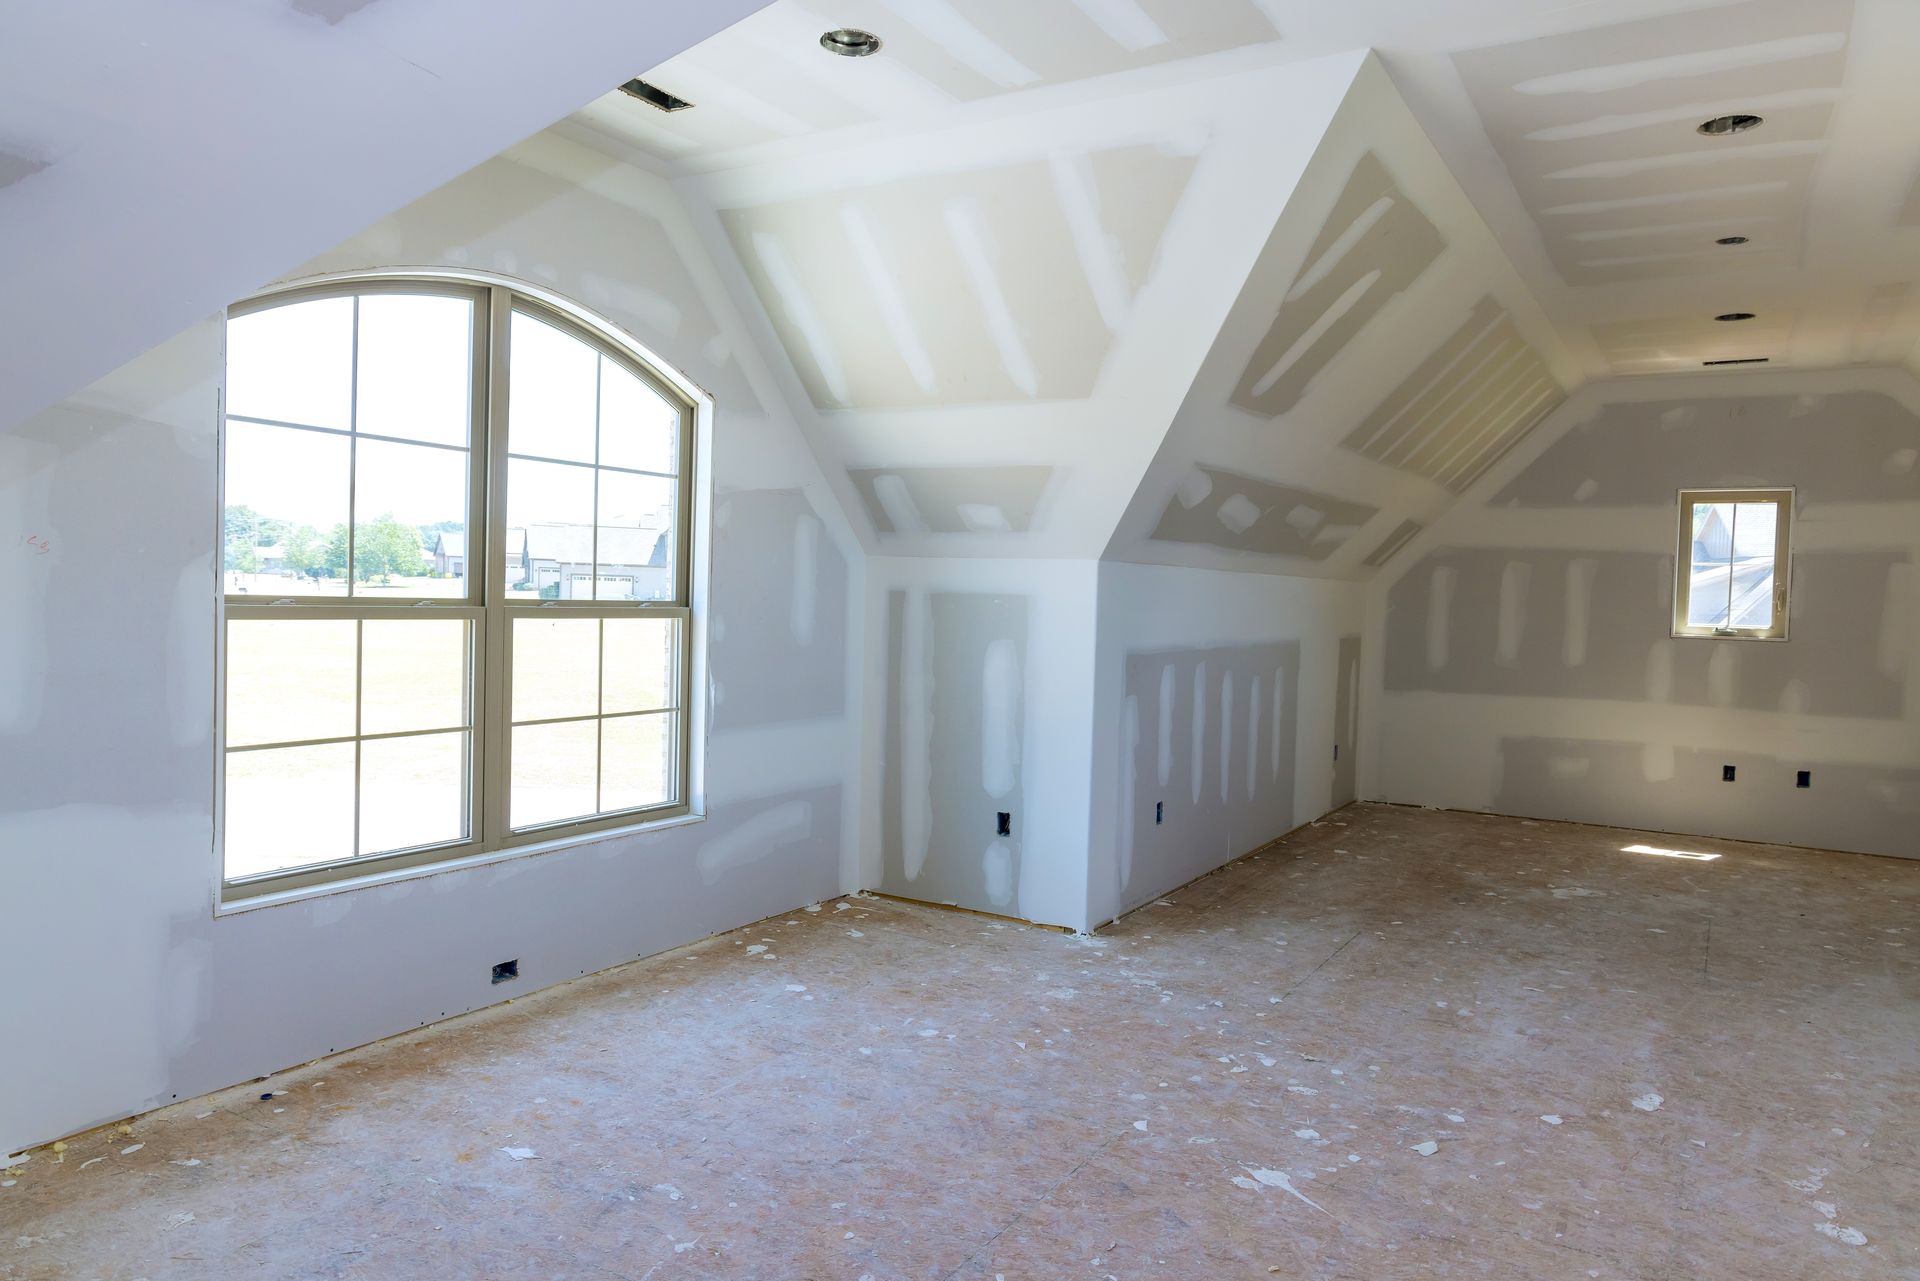
Once the walls are taped and sanded, the freshly exposed joint compound remains highly vulnerable to freezing temperatures. A sudden October frost can actually freeze the water inside the mud before it evaporates, destroying the structural integrity of the joints. Taking immediate protective action guarantees your walls remain flat and solid.
- Maintain constant warmth: Keep the thermostat set to a minimum of 15 degrees Celsius around the clock until the final paint primer is completely dry.
- Run industrial dehumidifiers: Operate heavy duty moisture extractors constantly to pull the evaporating water out of the air.
- Seal ventilation drafts: Temporarily block off open ductwork or exhaust vents that might allow cold night air to blow directly onto wet corners.
Frequently Asked Questions
What temperature should a house be for drywalling?
The indoor environment must be consistently maintained between 13 and 21 degrees Celsius for both the hanging and finishing phases. This temperature range must be established at least forty eight hours before the materials arrive on site and maintained continuously until the final paint is applied. Dropping below this baseline prevents the joint compound polymers from cross linking properly.
Can high humidity ruin drywall mud?
Yes, excessive dampness in the air completely halts the evaporation process required for joint compound to harden. When humidity levels exceed seventy percent, the mud acts like a sponge, absorbing moisture rather than releasing it. This leads to soft, chalky joints that will easily dent and fail to hold paint properly.
How long does joint compound take to dry in fall?
Under ideal summer conditions, a standard layer of mud dries in twenty four hours, but damp fall weather can extend this timeframe to three or four days per coat. Installers must rely on physical touch tests and visual color changes rather than a fixed clock to determine readiness. Forcing the process with direct, unvented heat often causes the surface to crack from drying too quickly on the outside.
Secure Your Fall Construction Schedule Now
Waiting until the first frost hits will severely limit your options for completing a high quality interior finish. Proper climate management and expert timing are the only ways to ensure your custom walls remain flat and durable. The skilled crews at Drywallers.ca are booking up quickly for the autumn construction season. Reach out to our local office today to lock in your installation dates and protect your building timeline.
Share This Blog